The Roles in the System
The system by default has four roles with varying privileges. The access to different features in the system is limited to the role assigned to the user. A user can be assigned multiple roles, which is based on the type of privileges required. However, any number of new roles with varying privileges can be added to the system.
The Default Roles
The four default roles are;
Super User
Administrator
Supervisor
Associate Accountant
Each role has varying permissions providing create / modify or view only access to the various features in the system. These permissions are shown below.
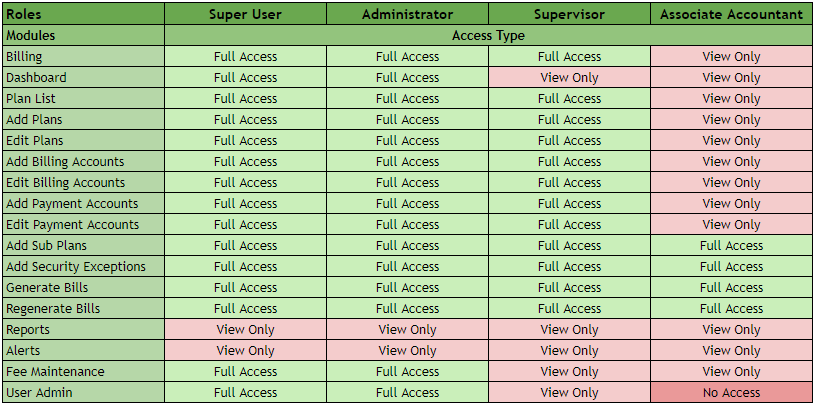
Permissions on the Various Features
Features |
Permissions |
|---|---|
Billing |
Provides create / modify or view only access to the “Billing” feature. |
Dashboard |
Provides create / modify or view only access to the “Dashboard”. |
Plan List |
Provides create / modify or view only access to the “Plan List”. |
Add Plans |
Allows to add a “Plan”. |
Edit Plans |
Allows to edit a “Plan”. |
Add Billing Accounts |
Allows to add a “Billing Account” for an “Interested Party”. |
Edit Billing Accounts |
Allows to edit a “Billing Account” of an “Interested Party”. |
Add Payment Accounts |
Allows to add a “Payment Account” for an “Interested Party”. |
Edit Payment Accounts |
Allows to edit a “Payment Account” of an “Interested Party”. |
Add Security Exclusions |
Allows to add “Security Exclusions” to a “Plan”. |
Generate Bills |
Allows to generate bills. |
Regenerate Bills |
Allows to regenerate bills. |
Reports |
Provides access to the “Reports” feature. |
Alerts |
Allows user to receive alerts. |
Fee Maintenance |
Provides create / modify or view access to the “Fee Maintenance” feature. |
User Admin |
Provides create / modify or view access to the “Administration” feature. |
The “Roles” Page
The “Roles” page under the “Administration” functionality, has the following features,
List the active roles
Create new roles and provide permissions
Filter the roles to list them categorically
Perform actions such as,
Edit the existing roles
Delete the existing roles
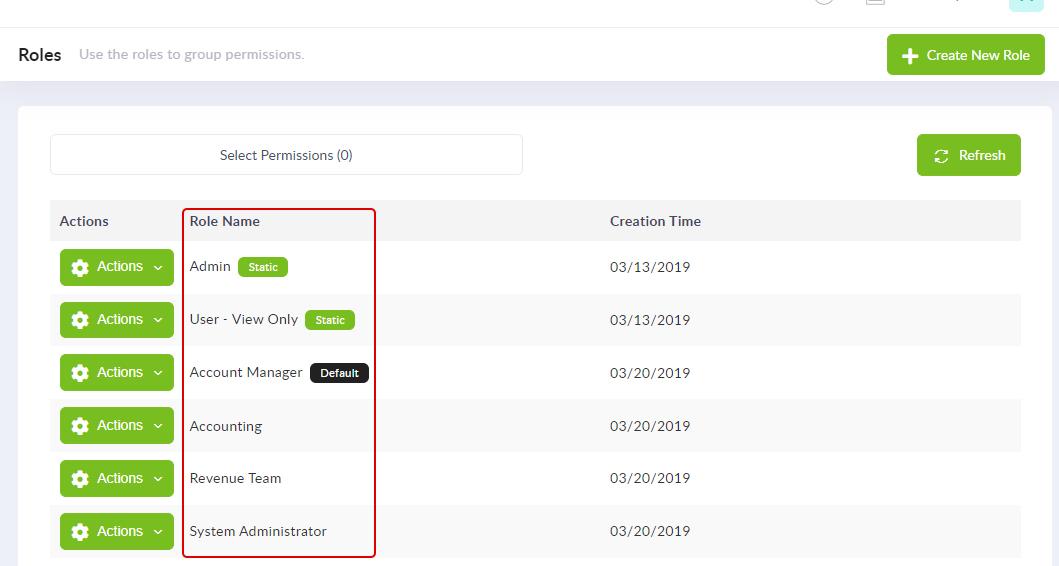
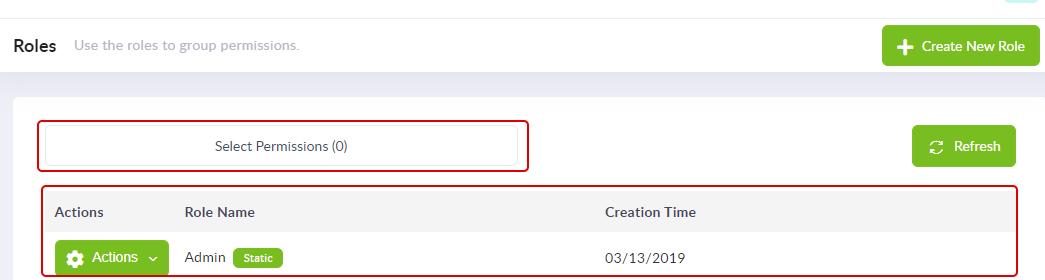
Listing / Viewing the Roles in the System
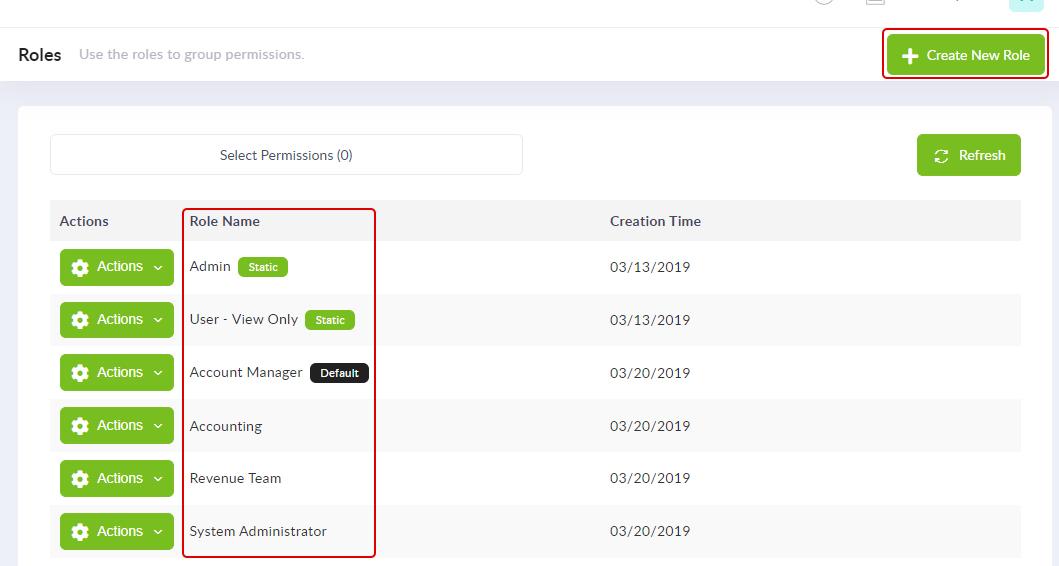
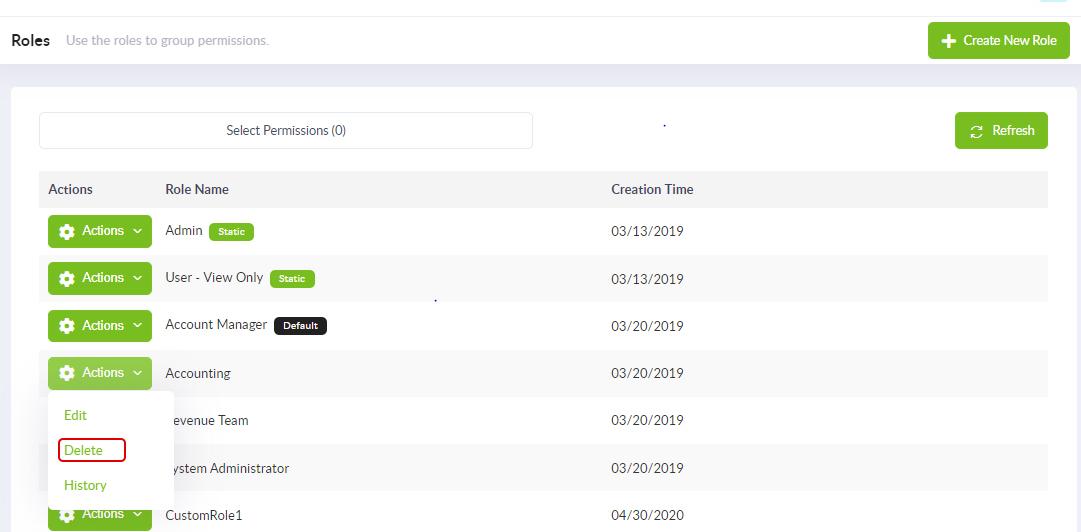
To view all the active roles in the system, access the “Roles” section under the “Administration” functionality.
Creating a Role and Providing Permissions
Creating a Role
To create a new role, access the “Roles” section under the “Administration” feature and click on the “Create New Role” button.

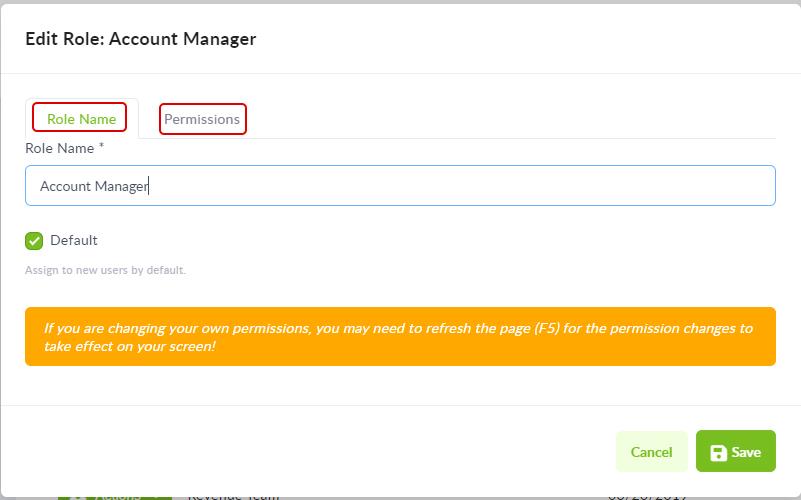
Under the “Role Name” tab on the “Create New Role” pop-up screen, enter the name of the role (Super User / Administrator / Supervisor / Associate Accountant).
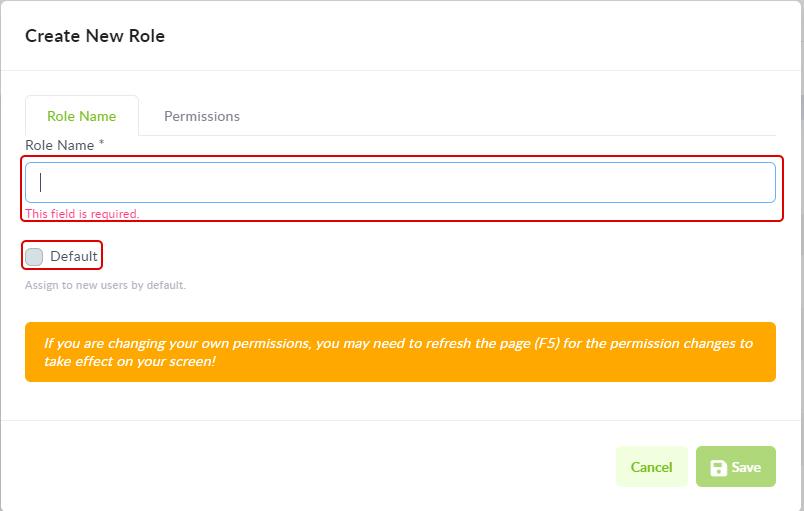
If you click the “Default” check box, the role that you added will be assigned to the newly created user by default. The “Default” option can be given to multiple roles, so when a user is created those roles marked as “Default” are assigned to the user along with the permissions given to those roles.
Providing Permissions
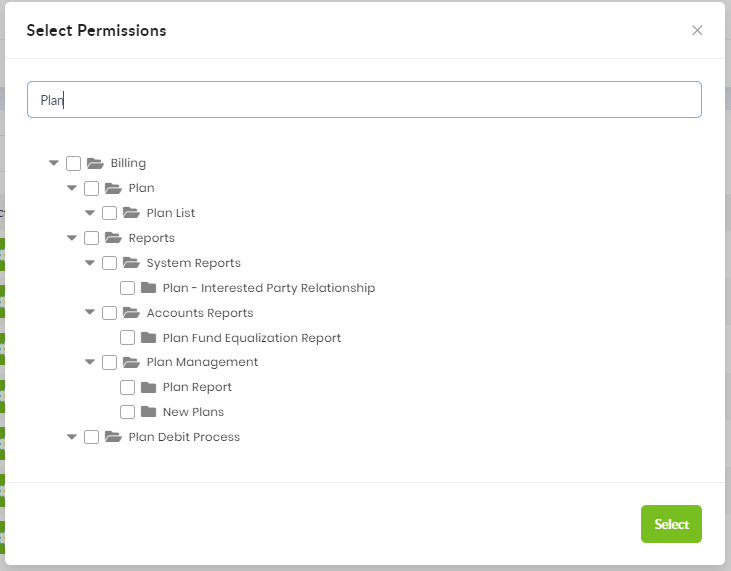
Click on the “Permissions” tab to access the “Permissions” section and assign permissions to the role you added. Permission to a feature can be given by checking the respective checkbox.
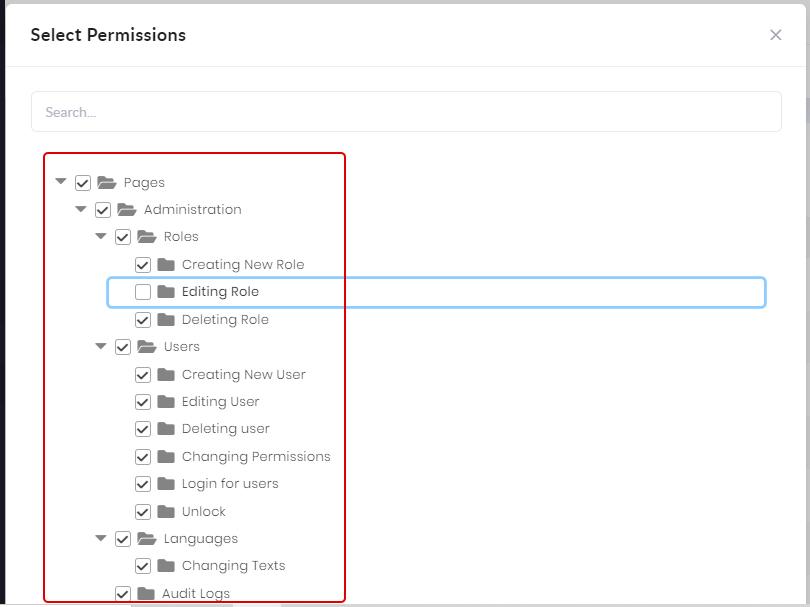
Selective permissions like add / modify or delete, can be given to or removed from sections under a feature by checking or unchecking the checkboxes of sections requiring or not requiring access under that feature.
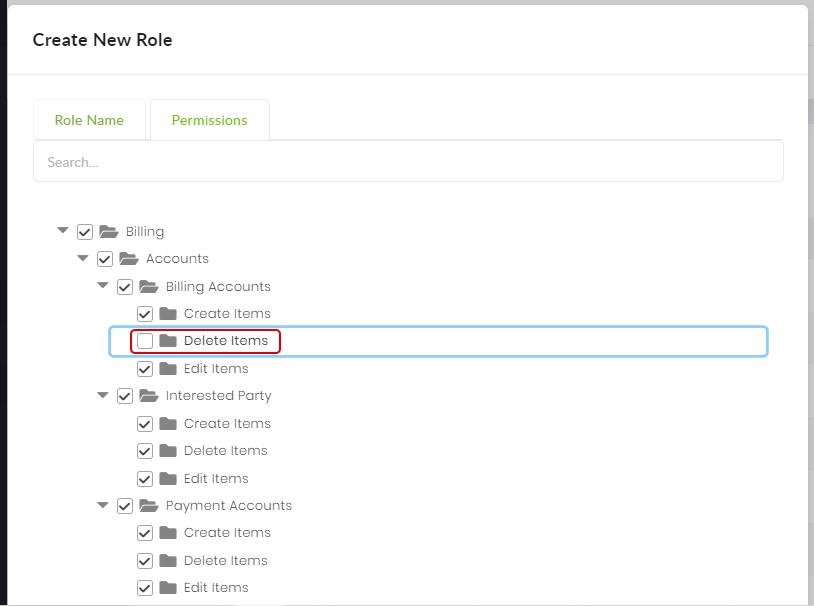
You can also make changes to the permissions assigned to a role by unchecking boxes against the permissions you want to remove.
Once all is done, click on the “Save” button, to save the changes you have made. You need to refresh the page (F5 function key on the keyboard) to see the permission changes you have made.
Filters to List Roles by Permissions
The “Filter by Permission” feature shows you all the roles that have access to a feature.
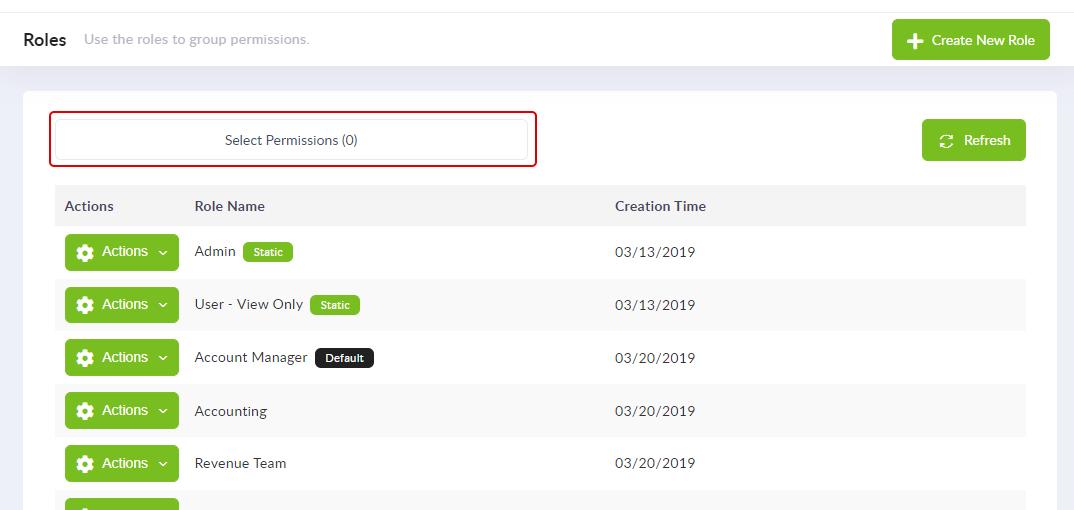
To see those “Roles” that have access to a feature, click on the “Filter By Permission” drop-down list on the “Roles” window. Select the feature from the drop-down list and click on the “Refresh” button to get the updated list.
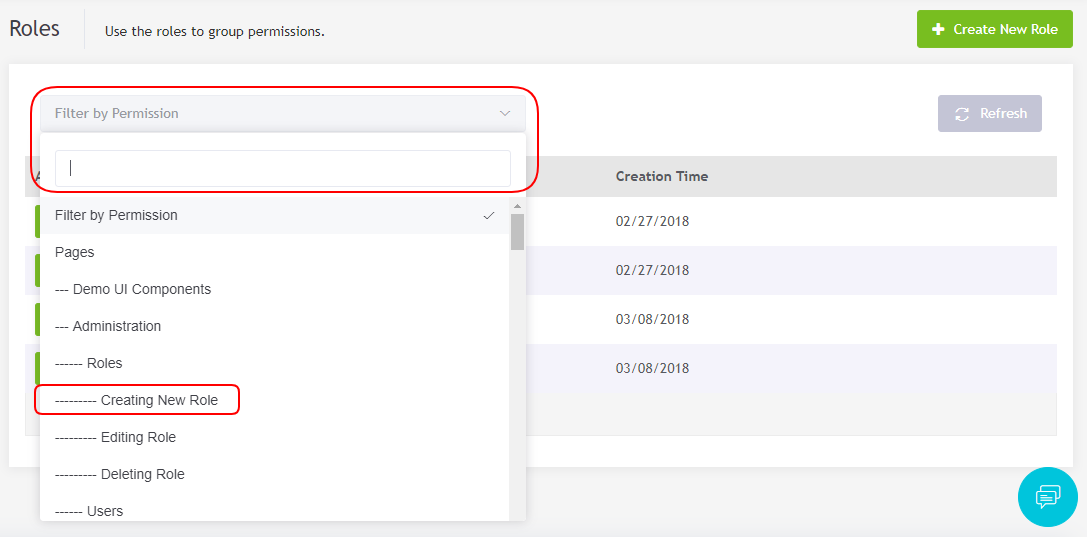
To remove the filter, select the “Filter By Permission” option from the drop-down list and click the “Reset” button.
Actions on a Role
Editing a Role
To edit a role, click on the “Action” button for that role and select the “Edit” option from the drop-down list.
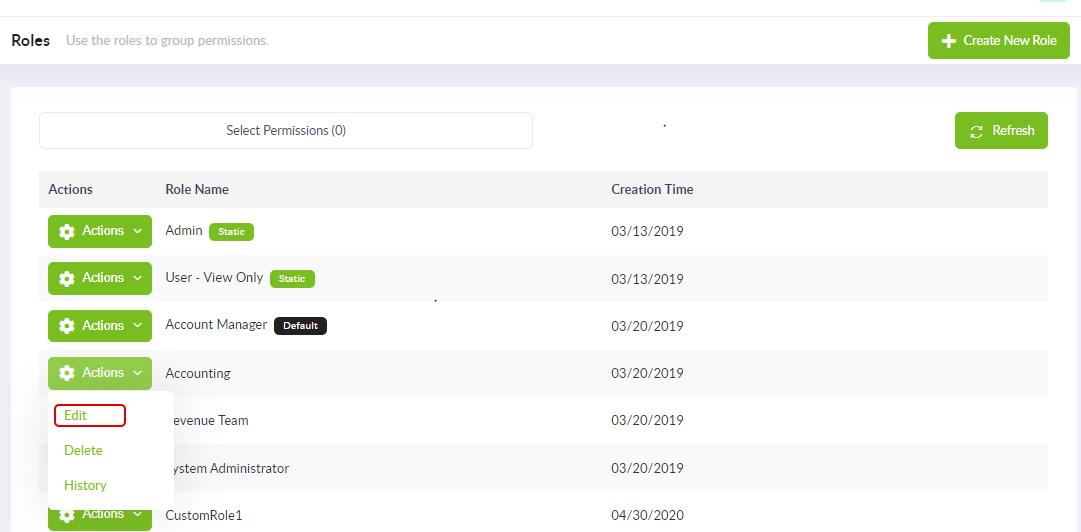
On the “Edit Role” pop-up screen, you can make your edits to the “Role Name” or the “Permissions” sections and once completed click on the “Save” button.
Deleting a Role
To delete a role, click on the “Action” button for that role and select the “Delete” option from the drop-down list.
Note: The “Administrator” and “Super User” roles cannot be deleted.
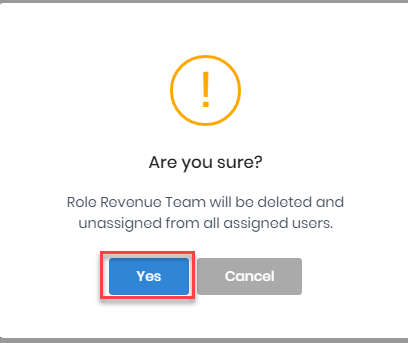
You will be asked to confirm if you want to go ahead with the deletion. Click the “Yes” button to do so, or to cancel the delete operation click the “Cancel” button.