Collect Payments
This feature lets you allocate to the Interested Party’s account payments received for Invoices that are Partially Paid or Unpaid.
The “Collect Payments” Page
The “Collect Payment” page under the “Billing” functionality, has the following features,
View the list of all “Unpaid”, “Partially Paid” and “Paid” Invoices
Filter the Invoices to list them categorically
Reconcile Invoice payments
Credit Overpayment to the Interested Party Account
Refund Overpayment to the Interested Party
View an Invoice and its Transactions
Cancel an Invoice
Download the PDF version of the Invoice
Download the Excel version of the Invoice
Download the ACH file
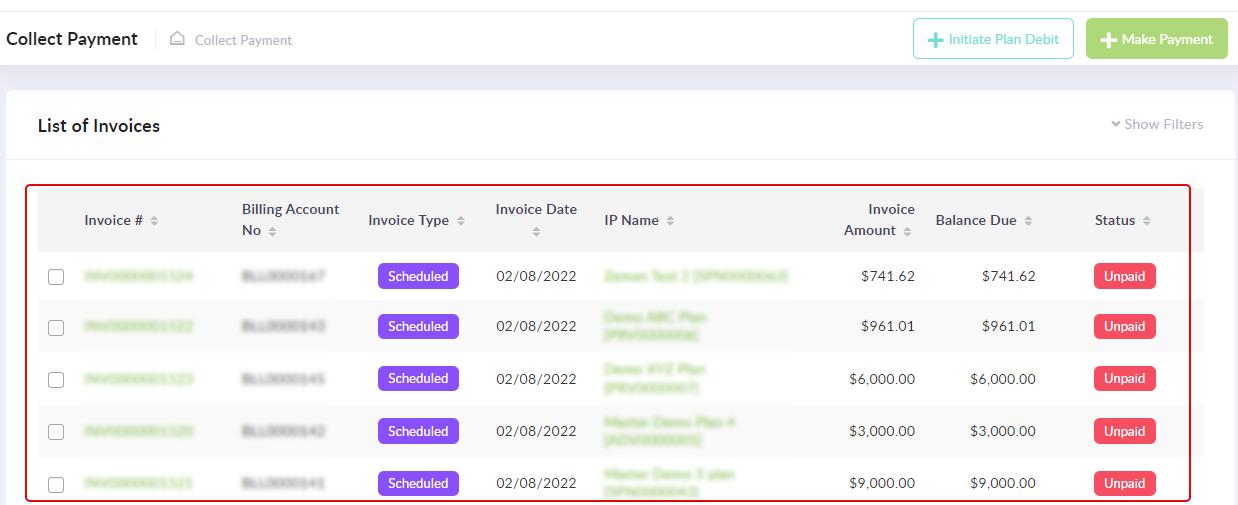
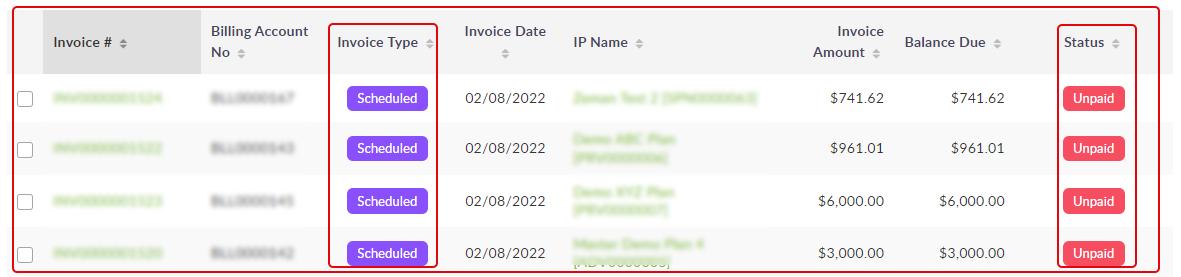
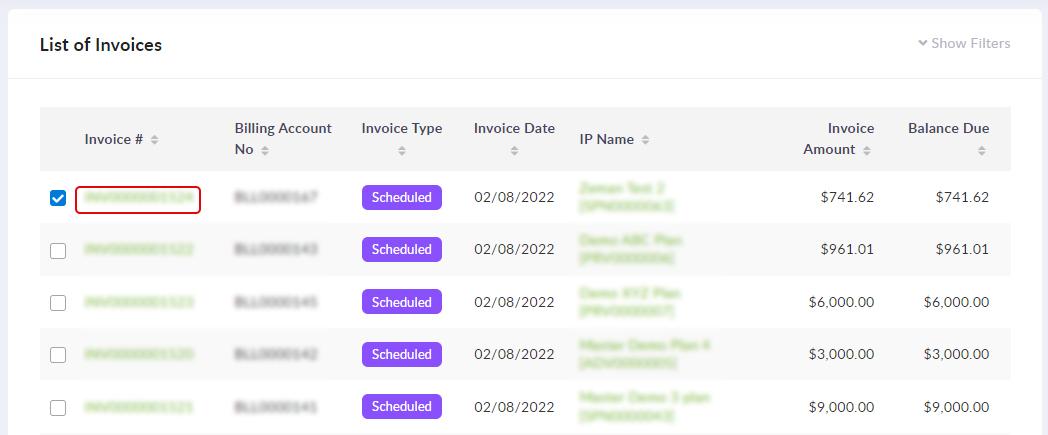
Viewing the List of Invoices
All “Paid”, “Unpaid” and “Partially Paid” invoices in the system are listed on the “Collect Payment” page under the “List of Invoices” section.
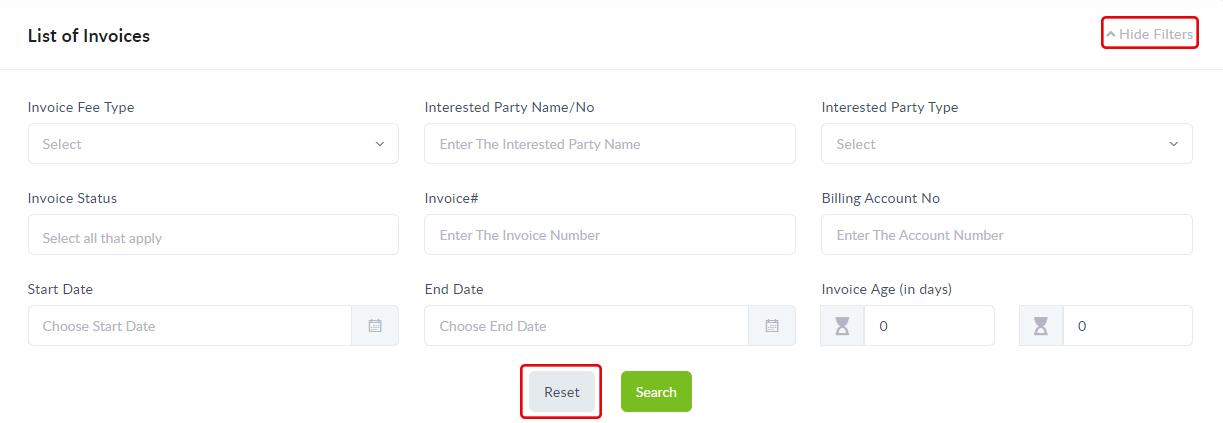
Filters to List the Invoices Categorically
You can list the Invoices based on the filtering categories you choose. To use this feature, click on the “Show Filters” option on the page.
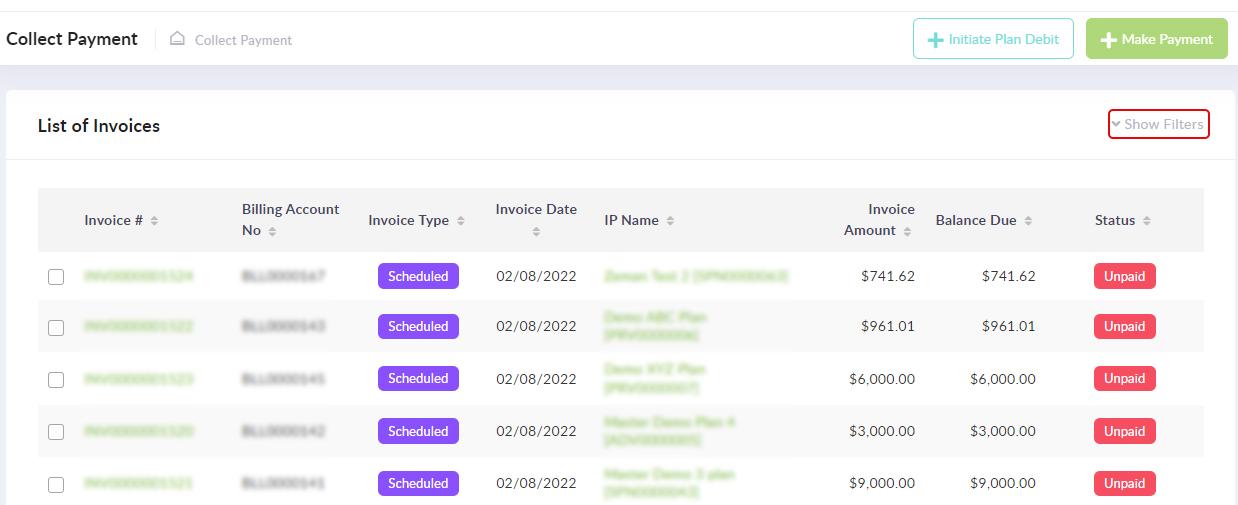
Choose the categories on which you want to filter the list and click on the “Search” button to generate the list based on your filter.
To remove the filters, click on the “Reset” button, and to hide the filter feature, click on the “Hide Filters” option (an option that toggles between Show and Hide Filters).
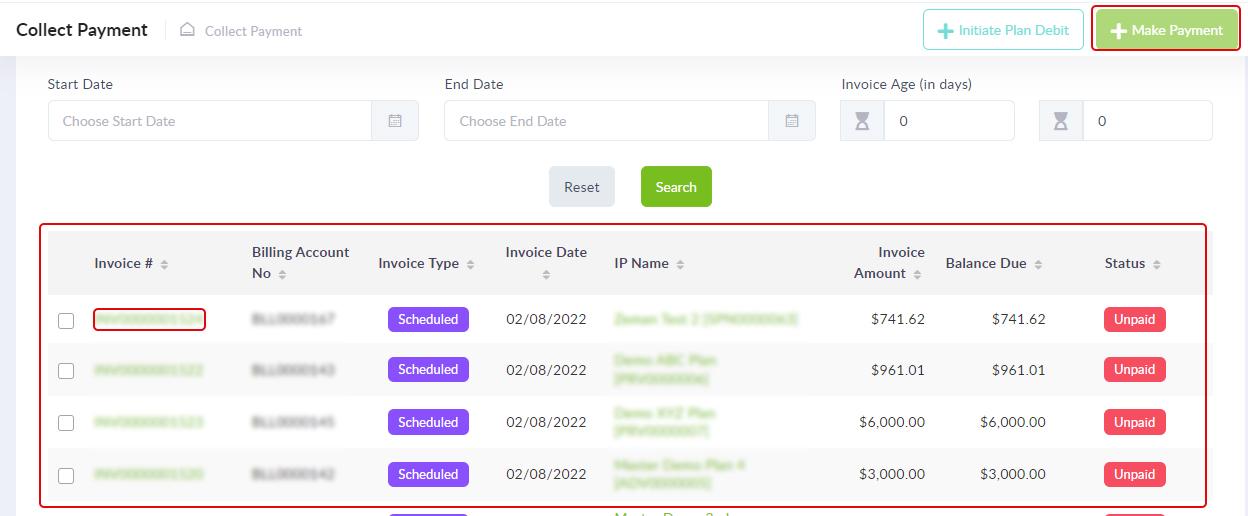
Reconciling / Allocating Payments (+Make Payment)
To allocate the payment received to the Interested Party’s Billing Account, check the box against the Invoice to which the payment needs to be allocated and click on the “+ Make Payment” button.
Note: The payment received can be allocated to multiple invoices of the same Interested Party but cannot be allocated to invoices of two different Interested Parties.
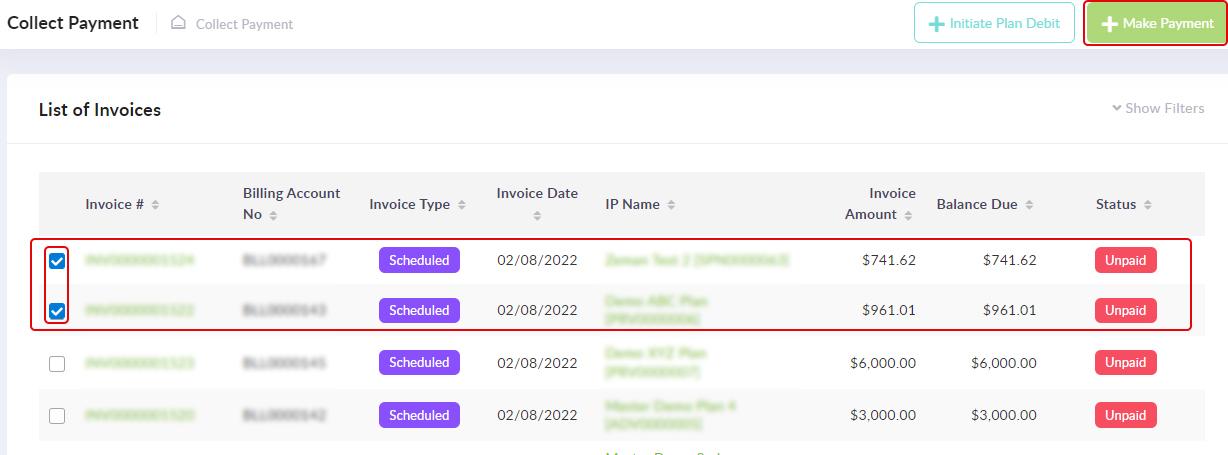
On clicking the “+Make Payment” button you get the “Enter Payment Info” popup window that lets you allocate the payment.
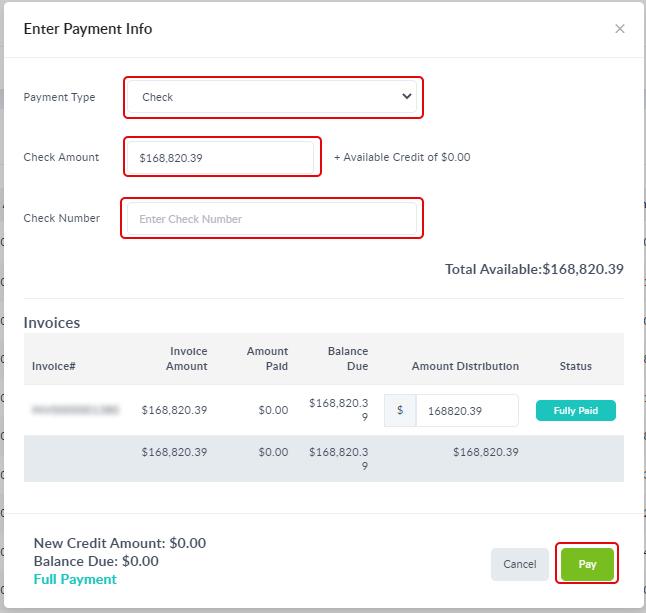
To allocate the payment, the following information needs to be given, and once done click on the “Submit” button.
Field Name |
Description |
Payment Type |
Choose what is the mode of payment - Check, ACH, Plan Debit.
|
Check Amount |
This field is generated only when the mode of payment (Payment Type) chosen is “Check”. The amount paid is entered here. |
Check Number |
This field is generated only when the mode of payment (Payment Type) chosen is “Check”. The check number is entered here. |
Available Credit |
This is a non-editable field. If the Interested Party overpaid previously, this amount can either be credited to the Interested Party account for future use or the over payment can be refunded. If the overpayment is credited to the Interested Party account, this amount gets shown in this field and payment can be taken from this credit amount. |
Invoice# |
This is a non-editable field that shows the system generated “Invoice Number”. |
Invoice Amount |
This is a non-editable field that shows the total amount of the invoice. |
Amount Paid |
This is a non-editable field that shows the how much has been paid on the invoices so far. |
Pay Partially? |
This field is generated only when the mode of payment chosen is “Check”. The default mode of the “Partially Pay?” slider that is seen as inactive, indicates that the payment for the invoice is a full payment. If for any reason, only partial payment is going to be made on an invoice, the slider can be moved right (it gets activated) to indicate that the amount being paid is a partial payment of that invoice. |
Amount to Pay |
This field is generated only when the mode of payment chosen is “Check”. This is a non-editable field depending on the option chosen in the “Pay Partially?” section.
|
Status |
This status is a system initiated one that changes based on if the amount being allocated is in full (Fully Paid) or in part (Partially Paid). |
Balance |
If there is a credit balance (over payment that has not been allocated), that amount gets shown here and is not related to the amount left to be paid. |

If there is an over payment after the payment has been allocated to the invoice/invoices, you will be asked if you want to credit the balance amount to the Interested Party’s account for future use or refund the payment through a check, to the Interested Party.
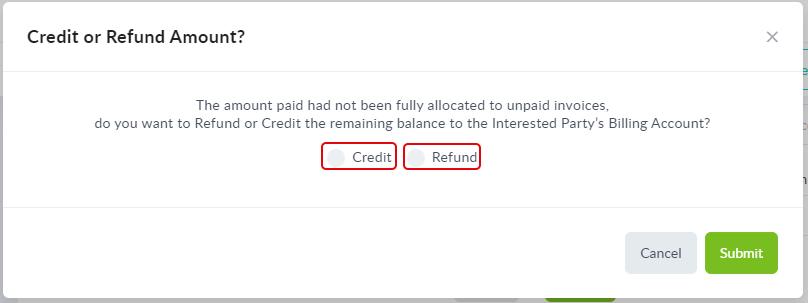
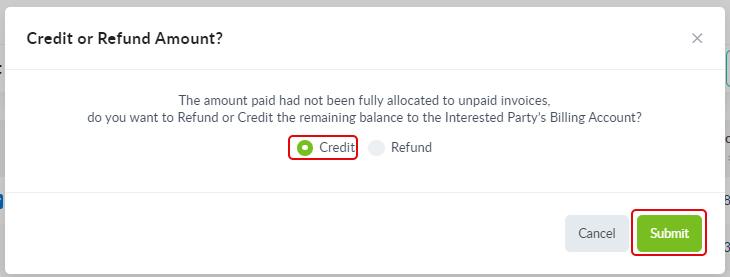
Crediting Overpayment to the Interested Party Account
If crediting the overpayment to the Interested Party’s account for future use, choose the “Credit” option and click on the “Submit” button. The amount is credited to the Interested Party’s account so that it can be used for future payments on invoices.
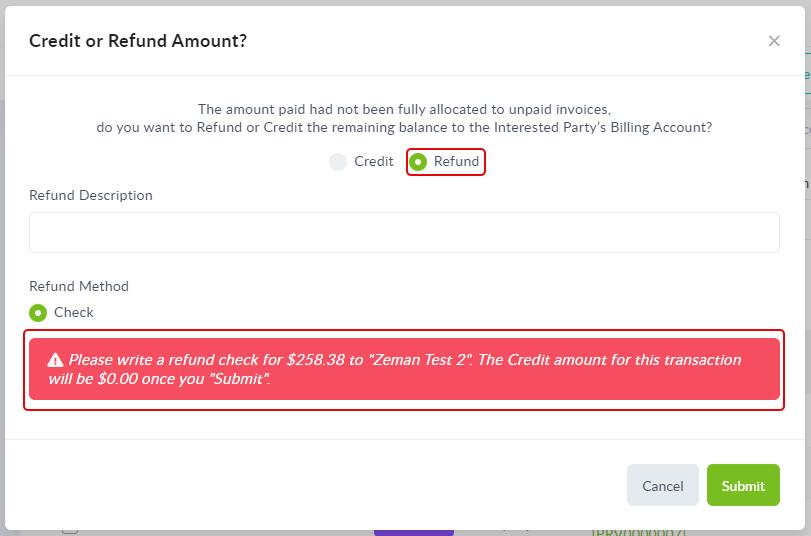
Refunding Overpayment back to the Interested Party
If refunding the overpayment to the Interested Party, choose the “Refund” option and click on the “Submit” button. A refund process when initiated generates an external task to refund the overpayment as a Check payment to the Interested Party.
Viewing an Invoice and its Transactions
To view the details of an invoice, click on the Invoice Number (seen under “Invoice #”), which brings up the invoice.
The “Cancel Invoice” Option
If the status of an Invoice is “Unpaid” or “Partially Paid”, you have the option to cancel the invoice from the “Invoice” page.
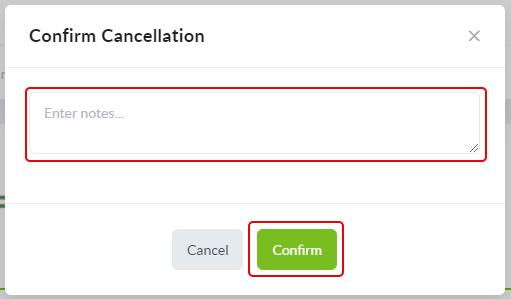
To cancel the invoice, from the “Collect Payment” page, click on the Invoice Number (“Invoice #”), which brings up the invoice. From here click on the “Cancel Invoice” button.
Enter the reason for cancelling the invoice in the “Confirm Cancellation” popup and “Confirm”.
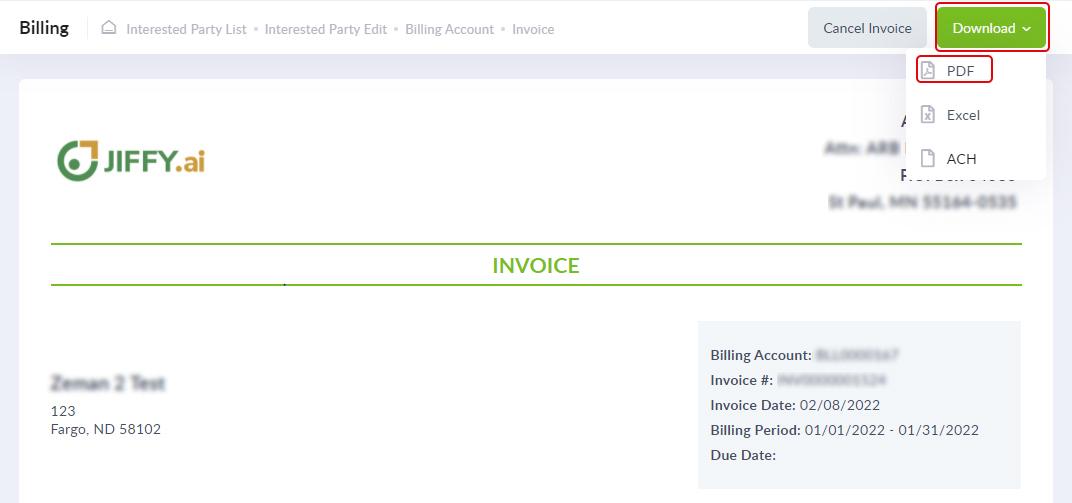
The “Download PDF” Option
If you wish to download the PDF version of an Invoice this is possible from the Invoice page. To use this feature, on the “Collect Payment” page, click on the Invoice Number (seen under “Invoice #”) of the invoice, which brings up the invoice. Click on the “Download” button and click on the “PDF” option. This generates a PDF version of the same Invoice that is downloaded locally.
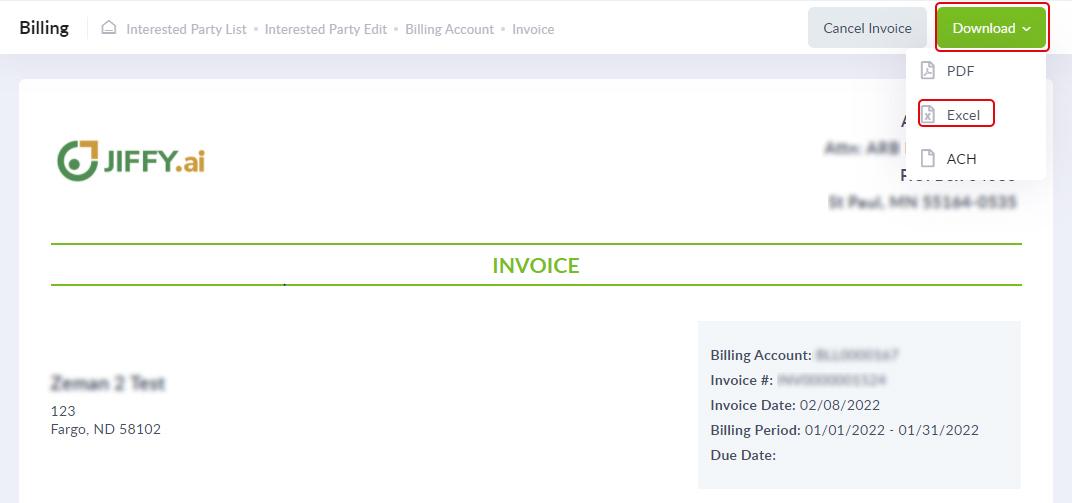
The “Download Excel” Option
If you wish to download the Excel version of an Invoice this is possible from the Invoice page. To use this feature, on the “Collect Payment” page, click on the Invoice Number (seen under “Invoice #”) of the invoice, which brings up the invoice. Click on the “Download” button and click on the “Excel” option. This generates an Excel version of the same invoice that is downloaded locally.
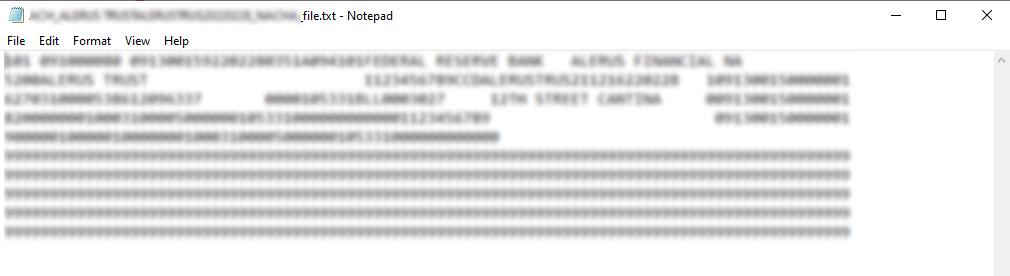
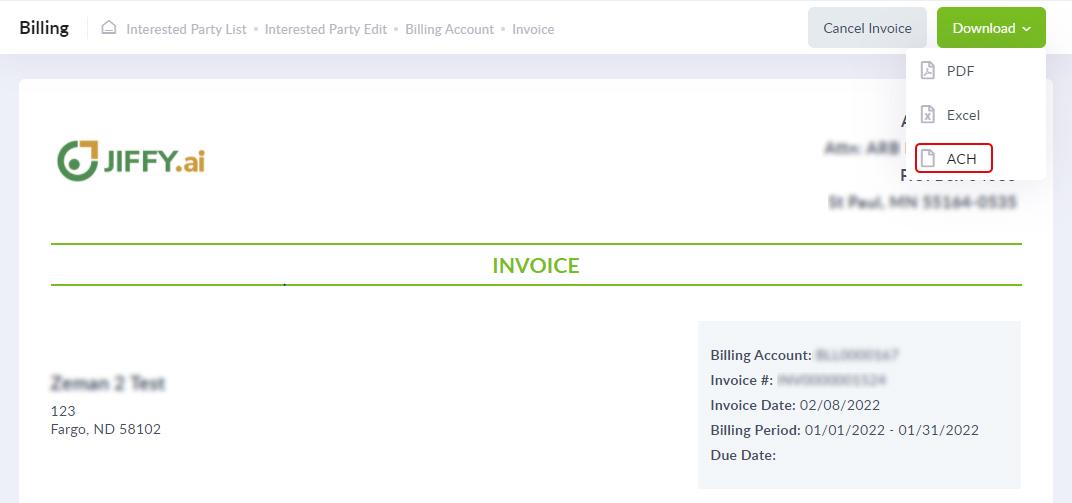
The “Download ACH” Option
If the status of an Invoice is “Unpaid” or “Partially Paid”, in addition to the “+Make Payment” option to generate the ACH payment, you have the option to generate an ACH payment for the invoice from inside the “Invoice” page.
On the “Collect Payment” page, click on the Invoice Number (seen under “Invoice #”) of the invoice, which brings up the invoice. Click on the “Download” button and click on the “ACH” option.
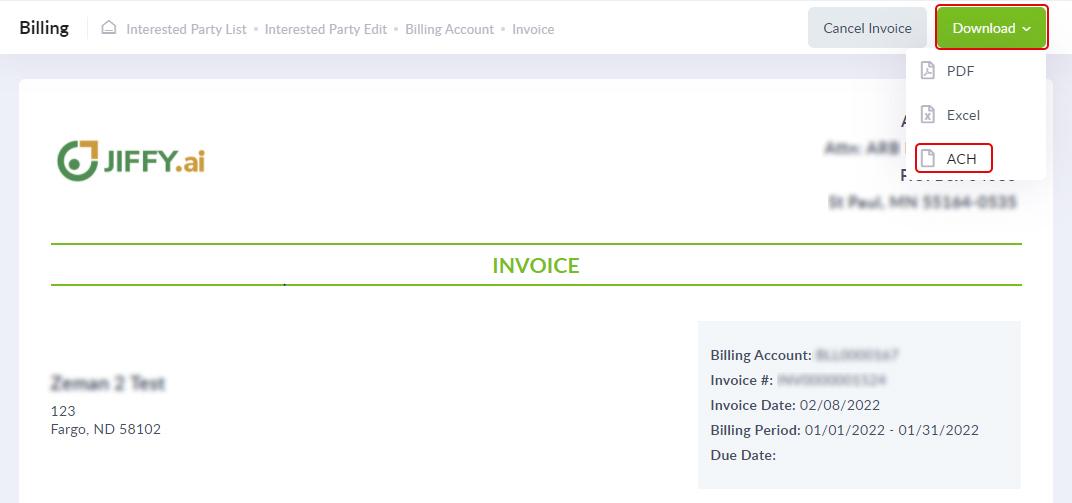
This generates a “Nacha ACH” file (a text file downloaded locally) that is an electronic payment created when the customer gives the authorization to debit directly from the customer’s Checking or Saving ASccount.