The “Payment Account” Page
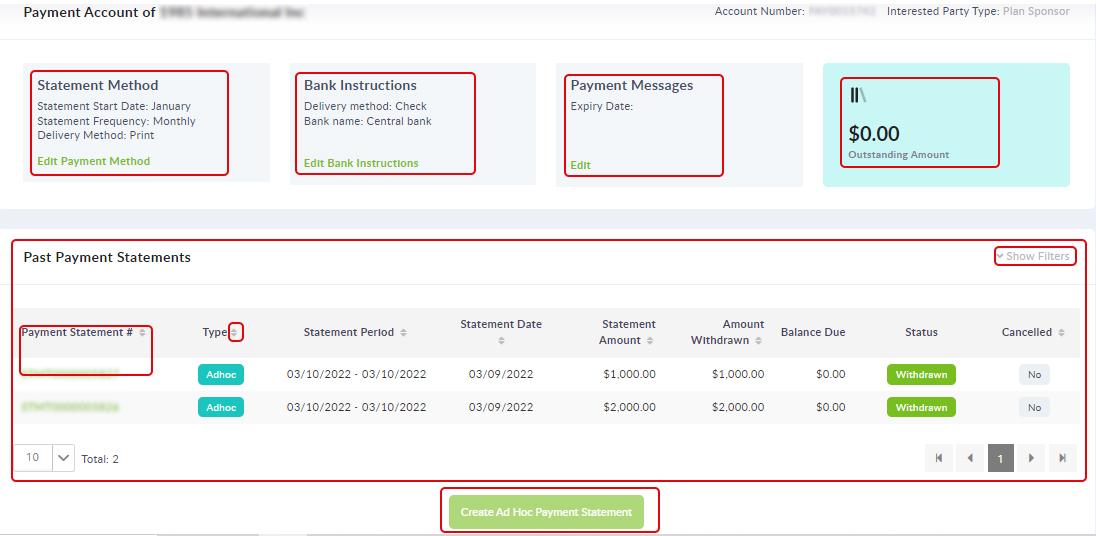
To access the “Payment Account” page, on the “Interested Party Profile Summary” page, click on the Payment Account Number link. This is seen in the “Account Details” section under the “Payment Account” option.
The “Payment Account” page that has the following features,
View the list of the past Payment Statements
Edit the Payment Method
Edit the Bank Instructions
Edit the Statement Standard Messages (yet to implement)
Display the Total Outstanding Amount from all the Statements
Filters to list past Payment Statements categorically
Sort the previous payment statement list according to the header
Create Ad Hoc Payment Statement
View a Payment Statement and its Transactions
Cancel a Payment Statement
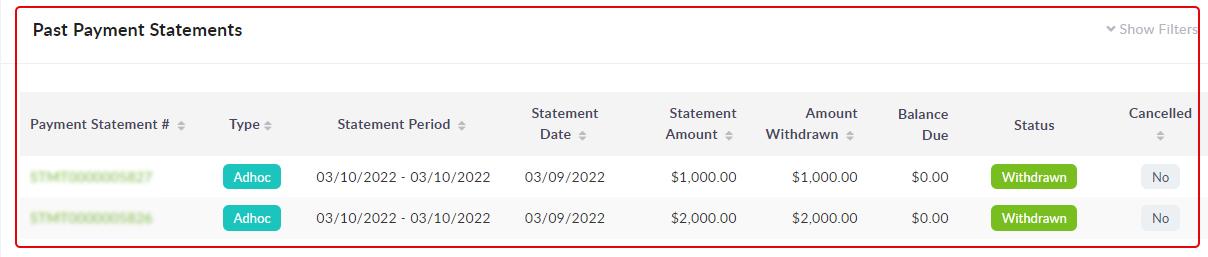
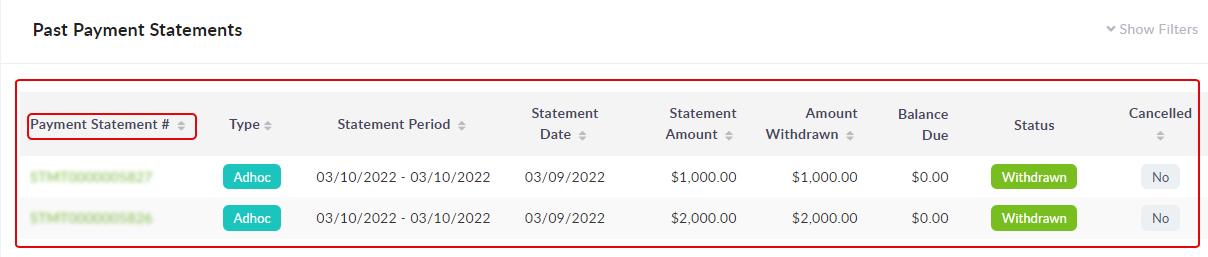
Viewing the Past Payment Statements
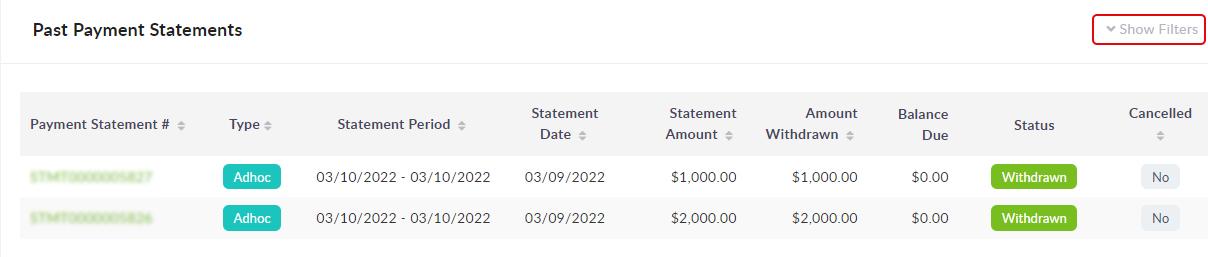
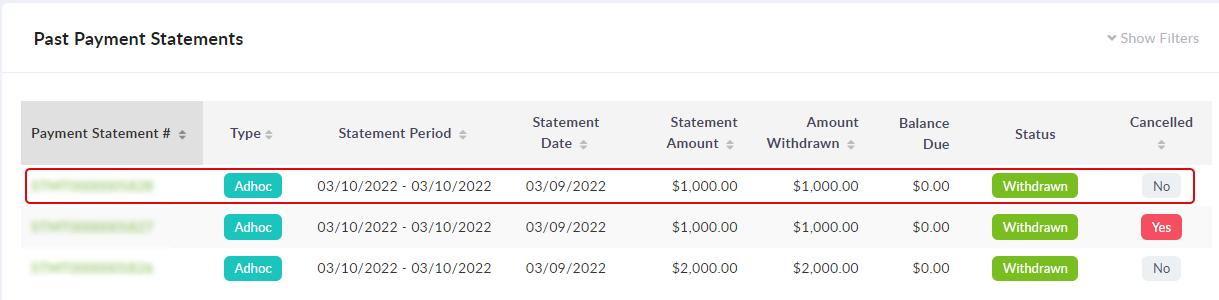
The list of all previous Payment Statements is shown under the “Past Payment Statements” section in the “Payment Account” page.
Edit Payment Method
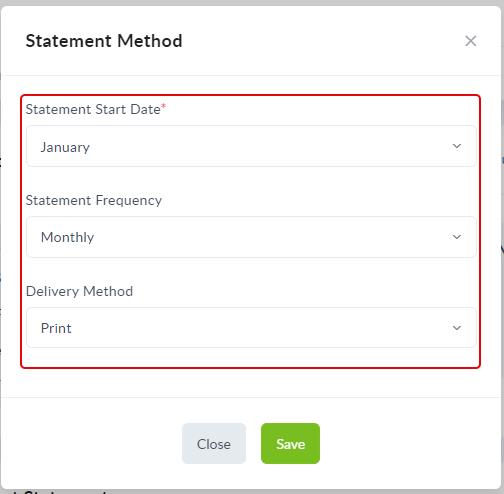
This option lets you make changes to the Statement Start Date, Statement Frequency and Delivery Method. To modify the Statement Method, click on the “Edit Payment Method” link. Once the modifications are made, click on the “Save” button.
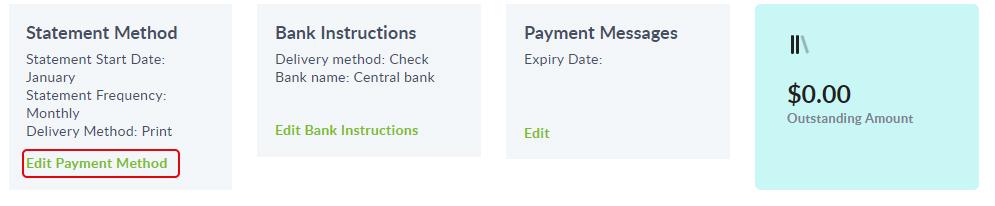
Edits can be done for the following fields,
Field Name |
Description |
Statement Start Date |
Let’s you choose the month from which the statement needs to be sent out. |
Statement Frequency |
Choose the Statement Frequency, which can be Monthly, Quarterly, Semi-Annual or Annual. |
Delivery Method |
Choose how the Payment Statement is delivered to the customer, (“Print”, “Electronic” or “Both”). Note: If the options chosen are “Electronic” or “Both”, a field to enter the email address gets activated, enabling you to enter the email address. If the option chosen is “Print” recheck if you have a valid postal address for the Interested Party. |
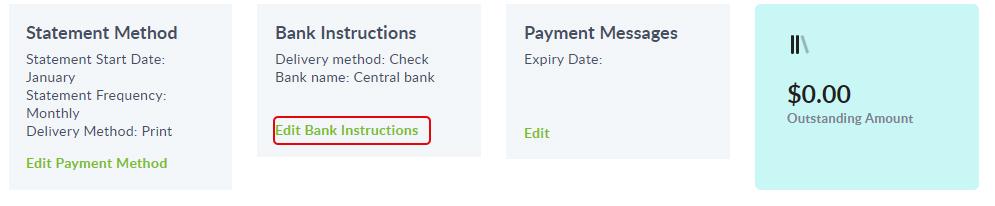
Edit Bank Instructions
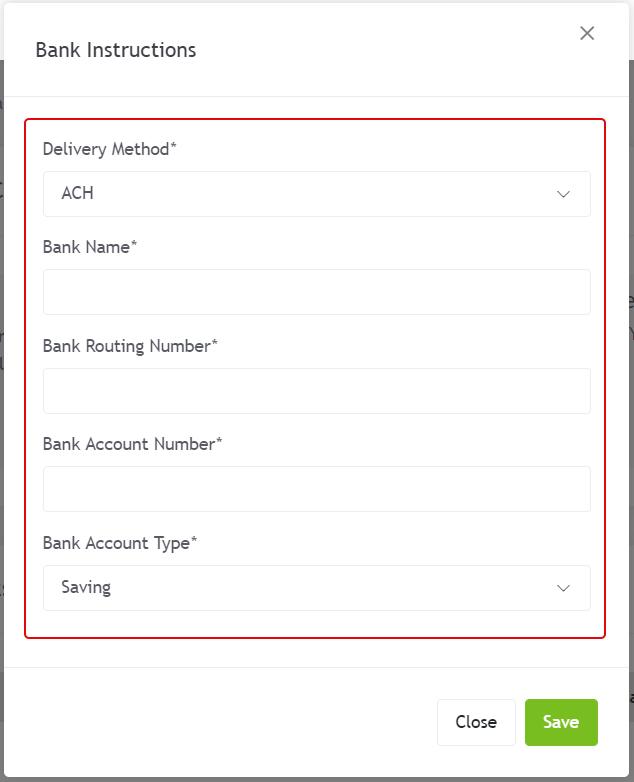
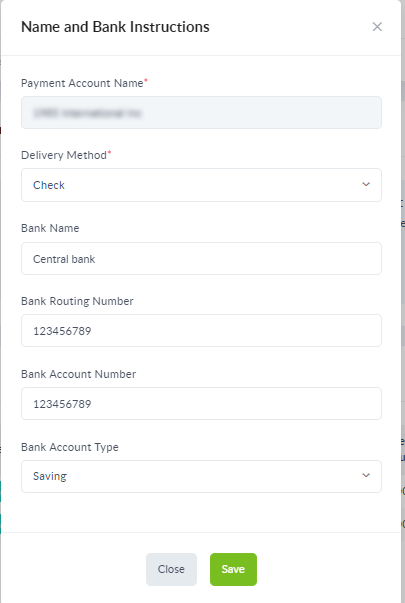
This option lets you make changes to the banking instructions. To do so, click on the “Edit Bank Instructions” link. Once modifications are done, click on the “Save” button.
Edits can be done for the following fields,
Field Name |
Description |
Delivery Method |
Choose from the drop-down options if the Delivery Method needs to be in the form of an “ACH” or “Check” payment. |
Bank Name |
Enter the bank name here. |
Bank Routing Number |
Enter the bank routing number here. |
Bank Account Number |
Enter the bank account number here. |
Bank Account Type |
Choose from the drop-down options if the account type is a “Saving” or “Checking” account. |
Edit Payment Messages
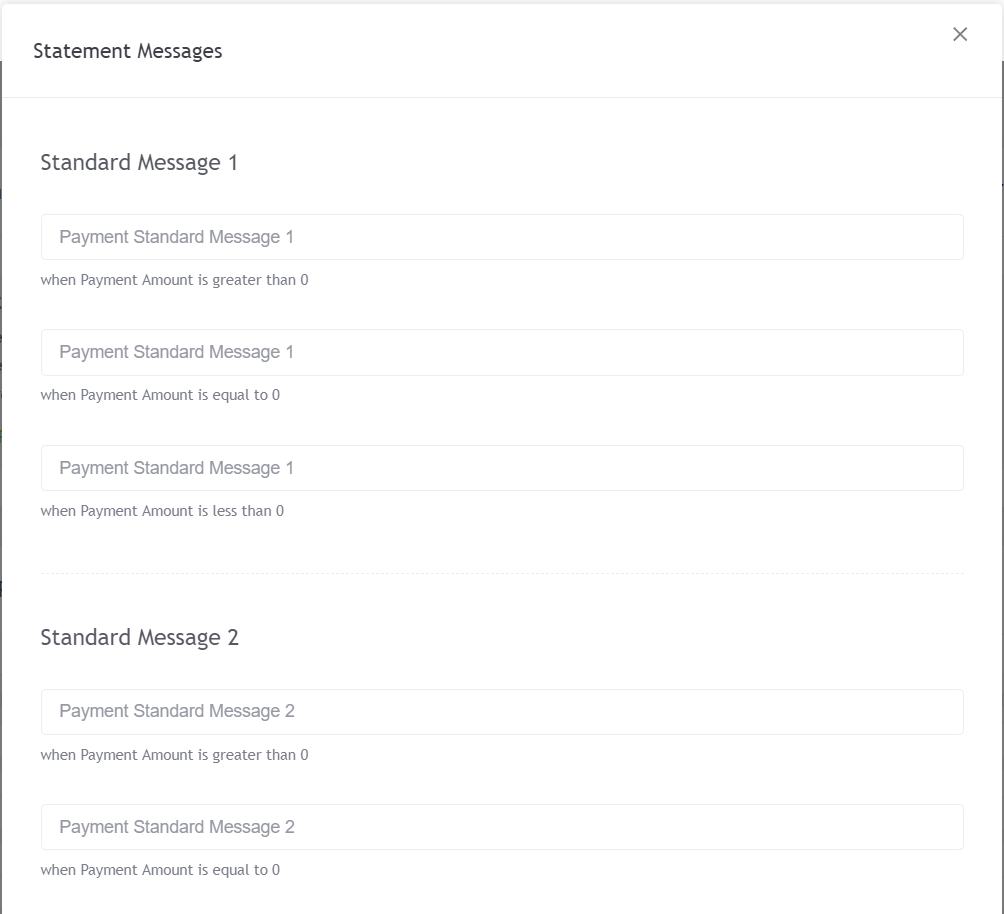
Any messages that needs to be shown in a Payment Statement can be defined using this feature. It lets you set standard messages on the payment statements.
The standard messages set at the Interested Party’s Payment Account level overrides the standard messages set in the “Payment” section under “Tenant Settings”.
The messages set here are customized for those payment statements sent out from the Payment Account of the Interested Party under which it is set.
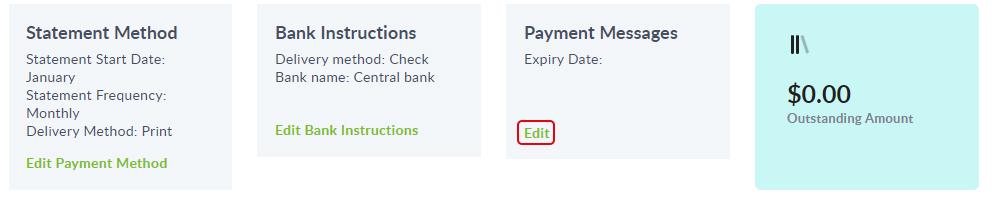
To set the messages, click on the “Edit” link under the “Payment Messages” section in the “Payment Account” page. Once done, click on the “Save” button.
Edits can be done for the following fields in the “Payment Messages” popup window.
Field Name |
Description |
Standard Message 1, Standard Message 2, Standard Message 3 |
You can define up to three standard messages in the Standard Message 1, 2 and 3 fields. |
Expiry Date |
This is an optional field. Setting an expiry date, expires the set standard messages on that date and reactivates the message set in the “Payment” section under the “Tenant Settings” |

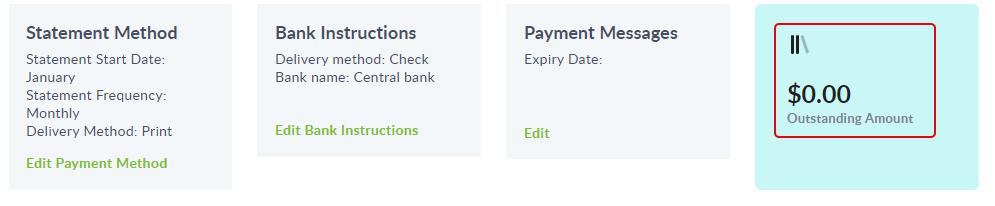
Total Outstanding Amount of all Payment Statements
This section is a read only field and shows the total of the Outstanding Payments from all the Statements in the Payment Account.
Filters to List Past Payment Statements Categorically
You can list the past payment statements based on the filtering categories you choose. To use this functionality, click on the “Show Filters” option on the page.
Choose the categories on which you want to filter the list and click on the “Search” button to generate the list based on your filter.

To remove the filters, click on the “Reset” button, and to hide the filter feature, click on the “Hide Filters” option (an option that toggles between Show and Hide Filters).

Sorting Past Payment Statements
You can sort the Payments List to arrange it systematically. To do this, click on the up-down arrow shown against the header, whose details you want sorted.
The sorting can be done in two distinctive ways.
One is to sort the list in a sequenced order by a criterion, say, sorting the list based on the “Payment Statement # (number)”, would list the Statements as ascending or descending.
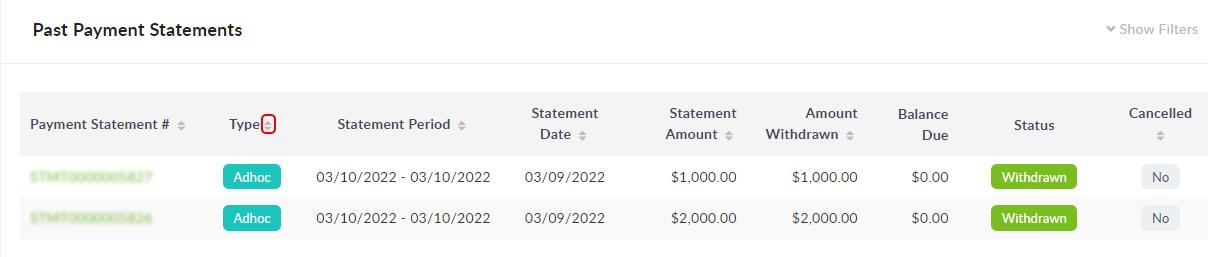
The other sorting method is grouping the list based on similar properties.
In the below image, when the Statements are sorted on the “Type”, we get the list sorted according to the Type (Ad Hoc and Scheduled).

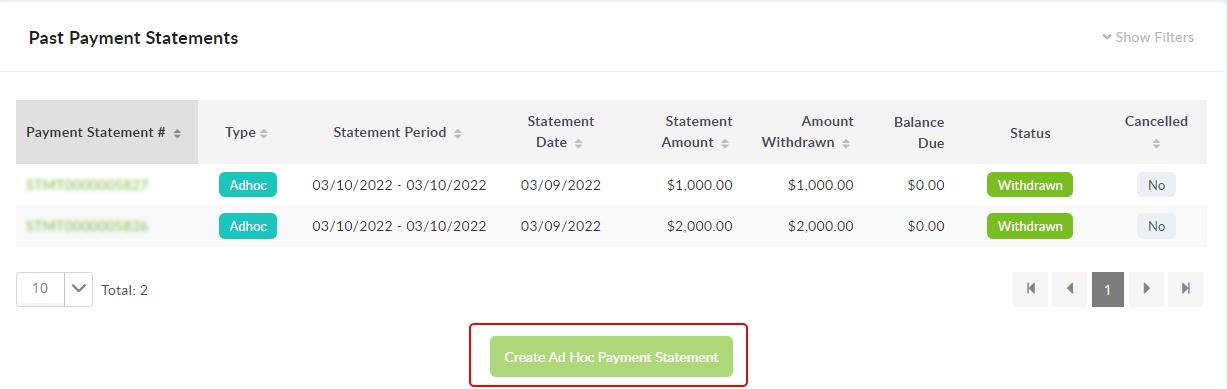
Creating Ad Hoc Payment Statements
An “Ad Hoc Payment Statement” is created when a payment statement needs to be triggered. Any un-statemented transactions can be clubbed together to generate an Ad Hoc Payment Statement.
To create an Ad Hoc Payment Statement, on the “Payment Account” page, click on the “Create Ad Hoc Payment Statement” button.
This brings up the “Ad Hoc Payment Statement” page that lists all the un-statemented transactions. To choose those payment transactions that needs to be sent in a single Payment Statement, check the check box against those transactions and click on the “Create Ad Hoc Payment Statement” button.
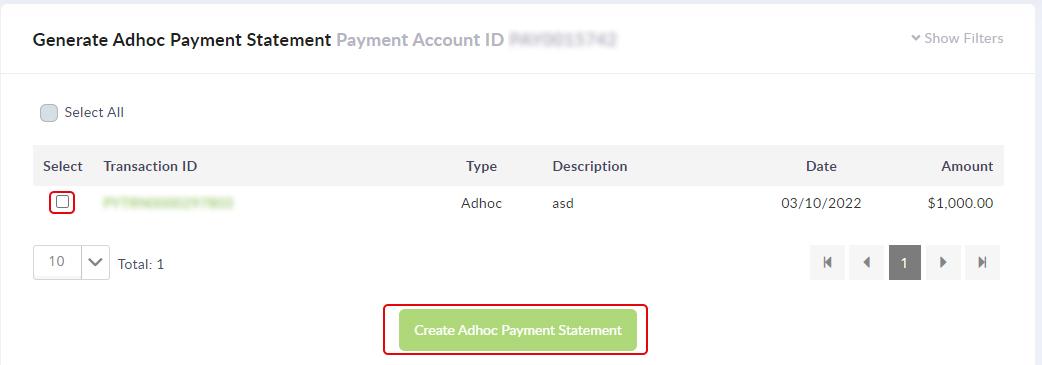
An Ad Hoc Payment Statement gets created and is listed on the “Payment Account” page under the Past Payment Statements section.
Note: If the “Create Ad Hoc Payment Statement” button is disabled, it means there are no Payment Transactions.
Viewing a Payment Statement and its Transactions
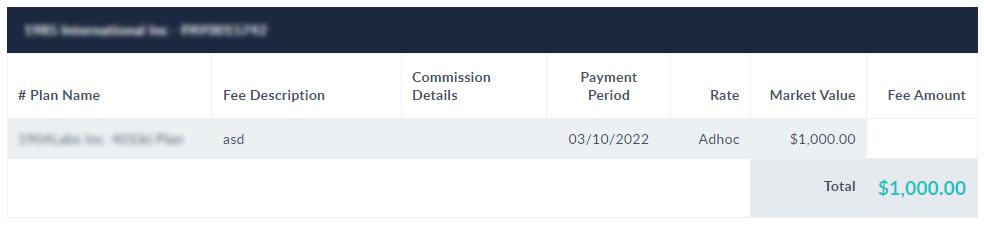
To view a payment statement, on the “Payment Account” page, click on the statement number (Payment Statement #). This brings up the Payment Statement page listing the Payment Transactions that form part of that Payment Statement.
Cancelling a Payment Statement
To cancel a Payment Statement, on the “Payment Account” page, click on the payment statement number (Payment Statement #) of the Payment Statement that needs to be cancelled.
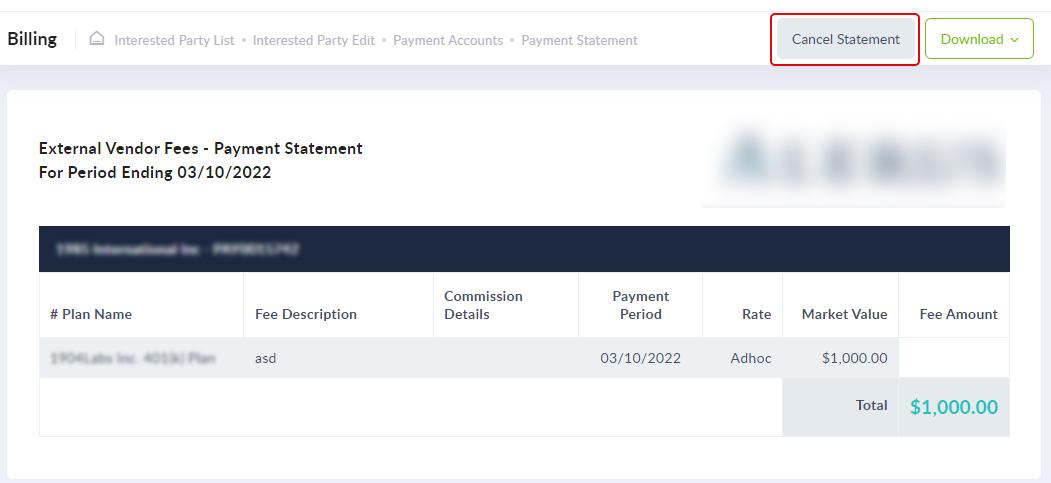
This brings up the “Payment Statement” page that list the payment statement and the payment transactions under it. Click on the “Cancel Statement” button.
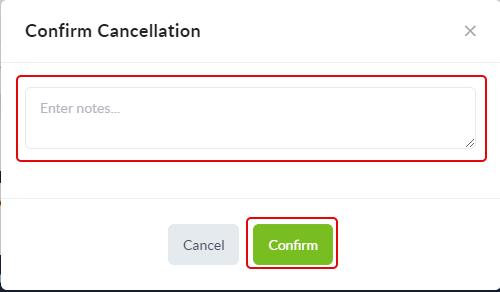
In the “Confirm Cancellation” pop-up box, enter the reason for cancellation and then click on the “Confirm” button to cancel the payment statement.
When you go back to the “Payment Account” page, the cancelled payment statement will have a status “Yes” under the “Cancelled” section.
Note: Only those payment statements whose status is “Not Withdrawn” can be cancelled. To see if the status of a payment statement is “Not Withdrawn”, under the “Past Payment Statements” section on the “Payment Account” page, scroll the bar to the right and look at the section under “Status”.
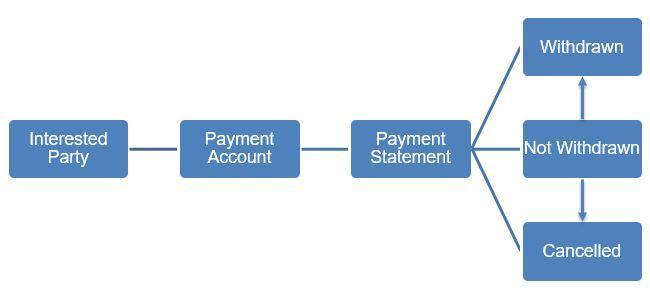
The Life Cycle of a Payment Statement
A Payment Statement gets generated as Scheduled or Ad Hoc from the Payment Account of an Interested Party. Once generated a Payment Statement will have the payment either issued or the statement cancelled. A payment statement will be in one of these two states on the system;
Payment Generated (Not Withdrawn)
Payment Cancelled (Cancelled) or
Payment Issued (Withdrawn)
Once generated, a Payment Statement will have the status “Not Withdrawn” on the system. If a payment has been issued it moves to the next cycle showing the status “Withdrawn”. Alternatively, if the Payment Statement is cancelled, it shows the status “Cancelled”. An image depicting the life cycle of a Payment Statement is shown below.