The Users in the System
Who are the System’s Users?
Users are those who have access to the Jiffy.ai Billing Platform. Access and use of the system for these users will differ, based on the “Roles” assigned to them on creation.
The “Users” Page
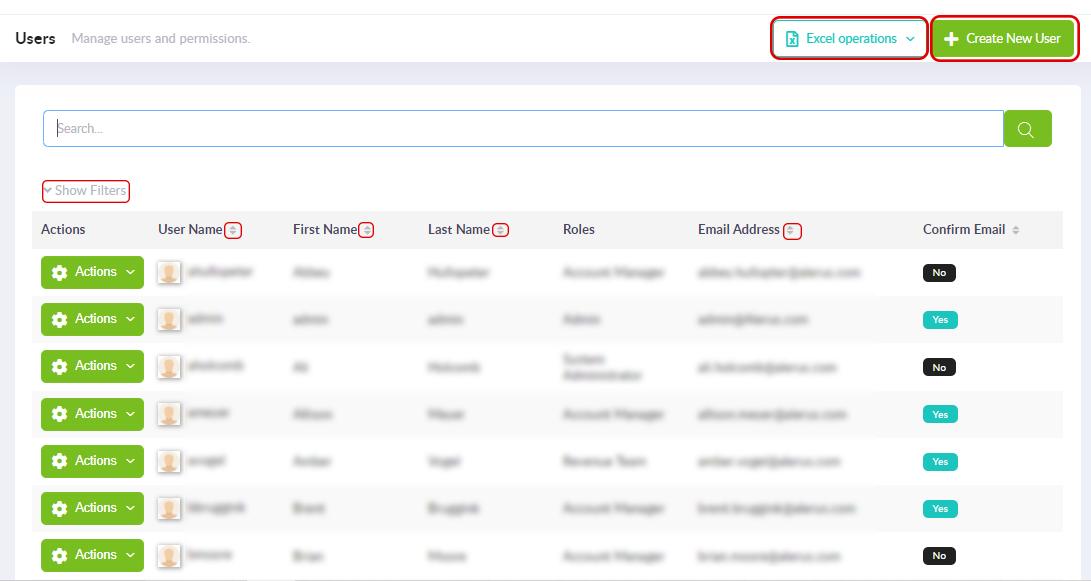
The “Users” page under the “Administration” functionality, has the following features,
List all active users
Create new users
Export the user list to excel
Filters to list the users categorically
Sort the users list according to the header
Perform actions such as,
Login as the user
Edit the user
Provide permissions
Unlock the user
Delete the user
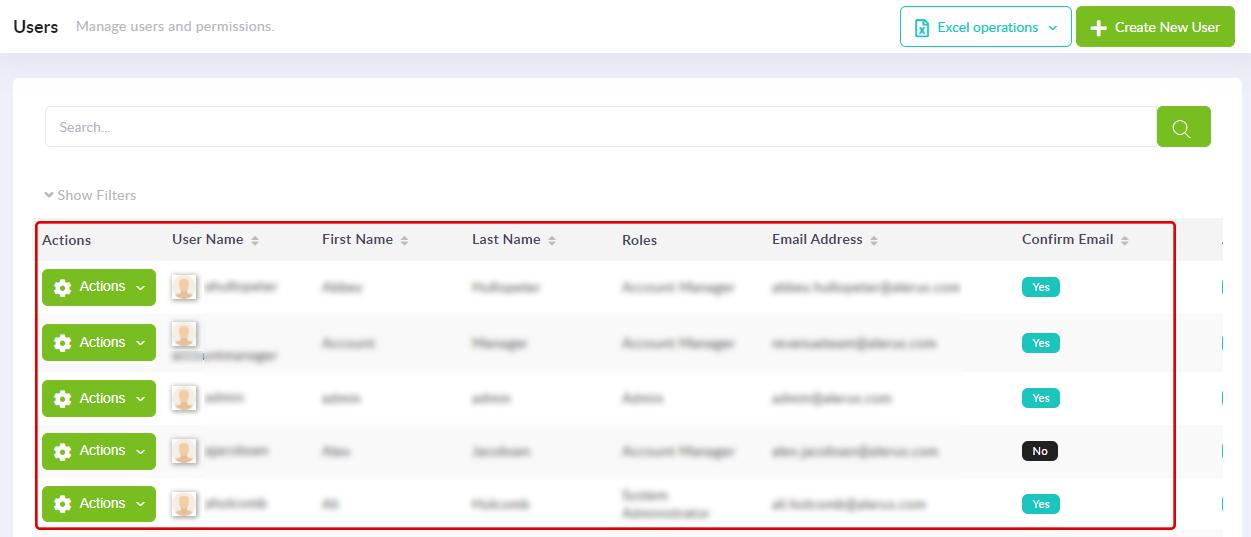
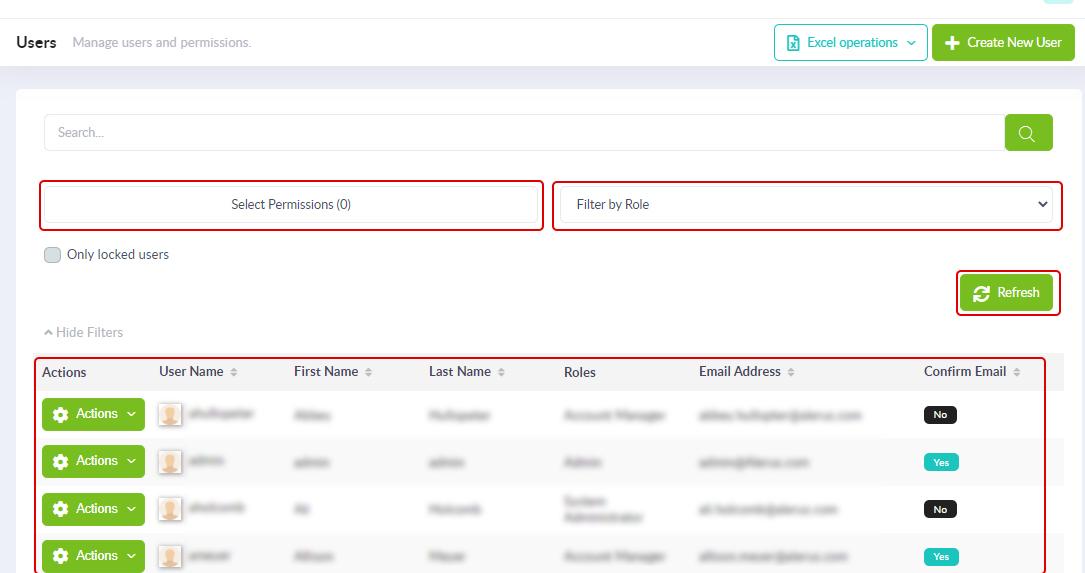
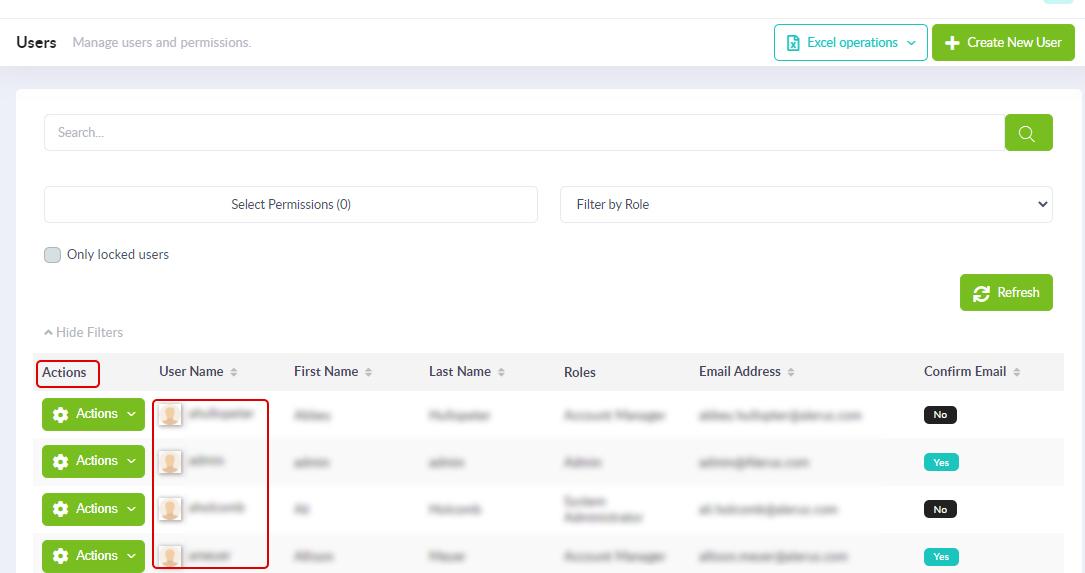
Listing / Viewing the Users in the System
To view all the active users in the system, access the “Users” section under the “Administration” functionality.
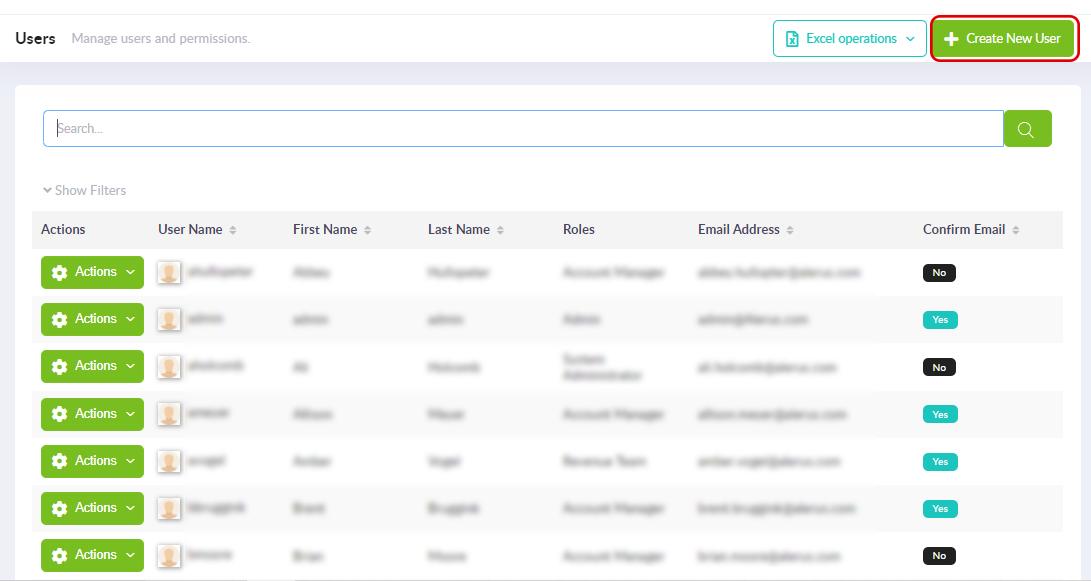
Creating a User
To create a new user, access the “Users” section under the “Administration” feature and click on the “Create New User” button.
On clicking the “Create New User” button you get the “Create New User” pop-up screen that provides you with three sections “User Information”, “Roles” and “Organization Units”.
The “User Information” Section
This section lets you create a new user by entering the user information in the required fields and activating or deactivating a few options that can be done by checking or unchecking the checkboxes shown against those fields.
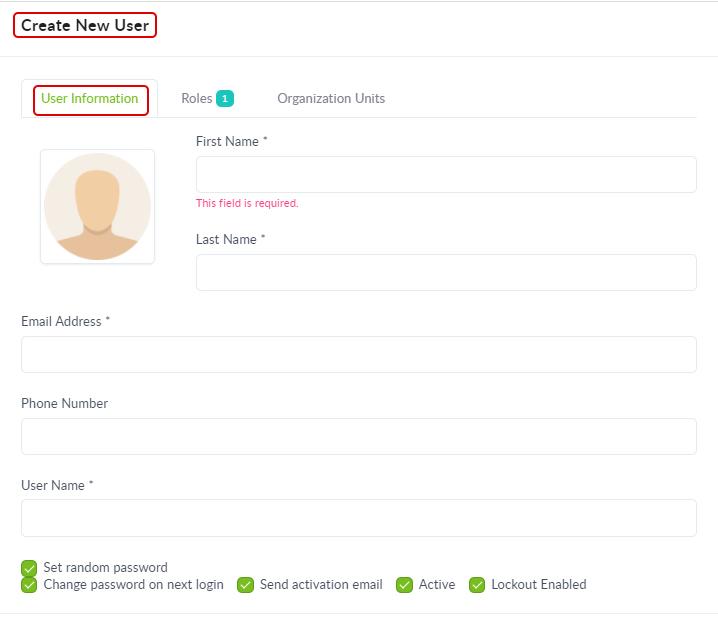
Information to be provided in the fields under the “User Information Section” is shown in the below table.
Field Name |
Description |
|---|---|
First Name |
Enter the first name of the user. This is a required field. |
Last Name |
Enter the last name of the user. This is a required field. |
Email Address |
Provide a valid email address. All system generated emails are sent to this address. This is a required field. |
Phone Number |
Provide a valid phone number. This is an optional field. |
User Name |
Enter a username to sign in to the system. Spaces are allowed, and as punctuations, only periods, hyphens, apostrophes, and underscores are allowed. This is a required field. |
Set Random Password |
This option lets the user set a random password. Uncheck this option to create a password for the user to sign into the system. To know more refer the section, Security (Host). This is an optional field. |
Change Password on Next Login |
This option forces the user to change the password on the next login. If not required, uncheck this option. |
Send Activation Email |
This option sends out an email with a link to the email address provided asking to confirm the email address and reset the password. If not required, uncheck this option. To know more about the Email (SMTP) settings, refer the section, Email (SMTP). This is an optional field. |
Active |
The user will be able to sign in to the system and the account is active by default. Untick this to deactivate the user sign in and make the account inactive. This is an optional field. |
Lockout Enabled |
When ticked this enables the user to be locked out of the system based on various factors. To know more refer the section, Security (Host). This is an optional field. |
The “Roles” Section
The “Roles” section shows the roles available in the system and allows you to assign Roles to the user you are in the process of creating.
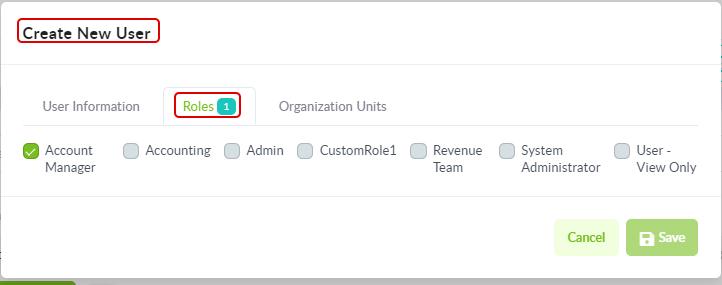
To know more about creating roles, refer the “Creating A Role and Providing Permissions” section.
The “Organization Units” Section
The “Organization Units” section shows the organization units available in the system and allows you to assign the user you are creating to a “Root Unit” or “Sub Unit”.
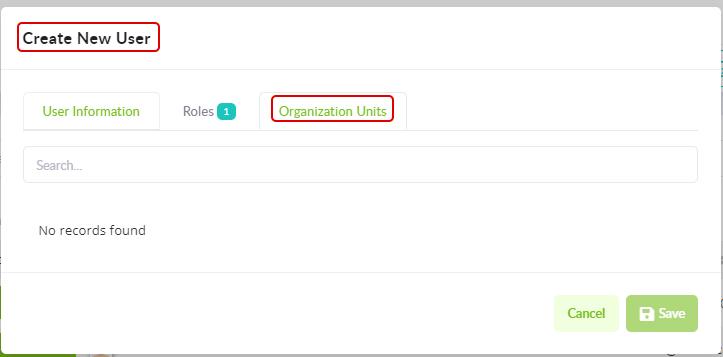
To know more about the Organization Units, refer “Structuring the Organization Units” section.
Once you are done providing the details in all the three sections, click on the Save button.
Exporting Users List to Excel
This feature lets you export to an excel file the list of users on the system. To use this feature, click on “Export to Excel” button.
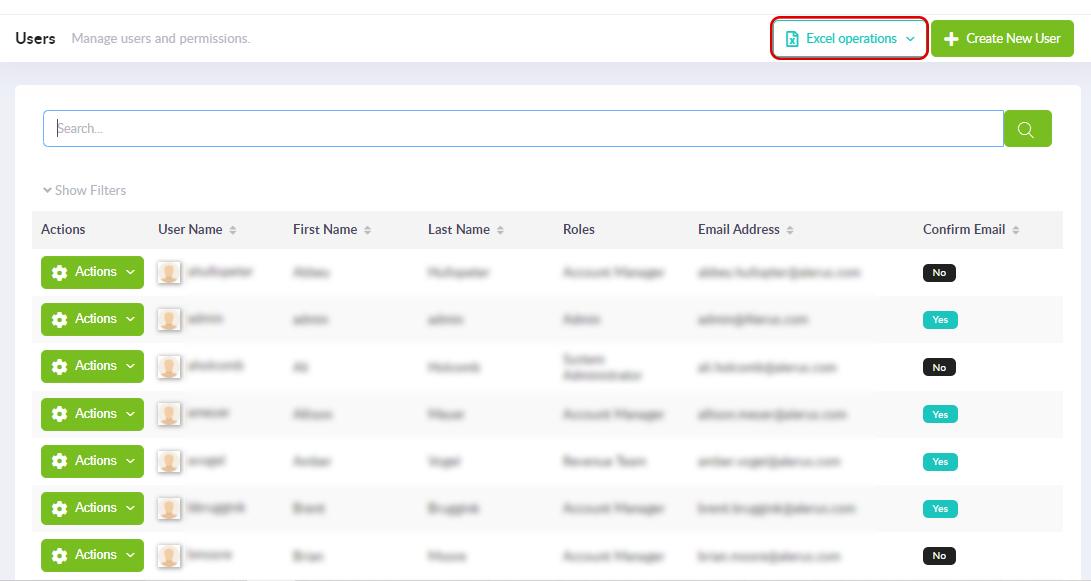
The list of all active users in the system is generated and output to an excel file that gets saved locally on the system.
Filters to View Users by Roles or Permissions or Both
To view the list of users based on the “Permissions” or the “Roles” assigned to the user, click on the “Show Filters” options on the “Users” window.
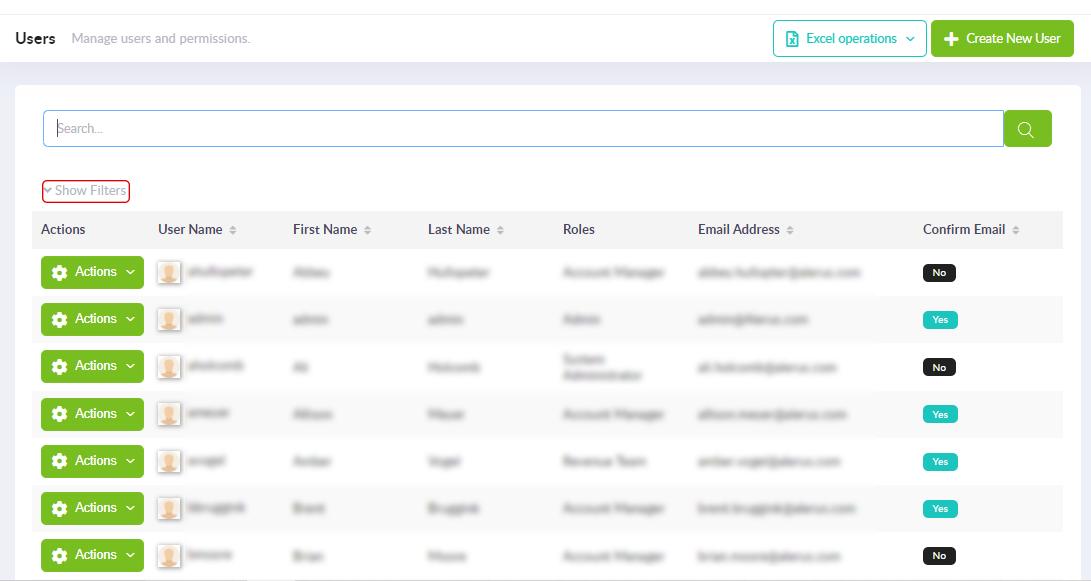
This brings up the user filtering feature. There are two options to filter the user listing – “Filter by Permission” or “Filter by Role”. These two filtering options can either be used on their own or in combination.
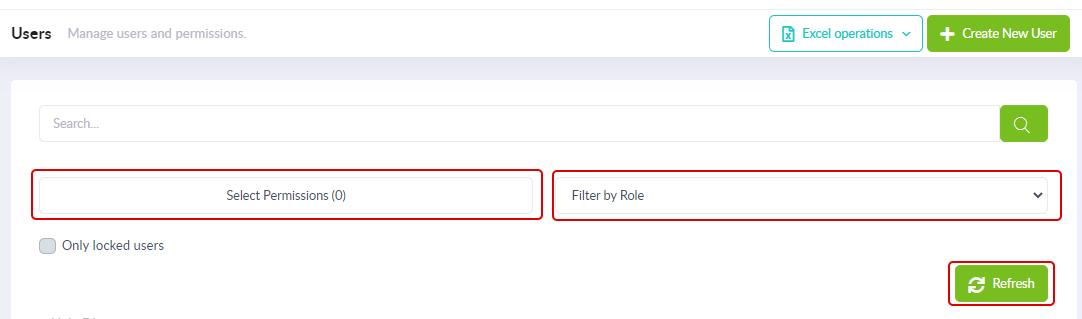
Choose the filtering option and click on the “Refresh” button to get the updated list.
To remove the filters, select the “Filter by Permission” (if any filter done on this criteria) and “Filter by Role” (if any filter done on this criteria) and click the “Refresh” button. This removes all filters done on the users list.
Sorting the Users List
You can sort the list of users to arrange the list systematically. To do this, click on the up-down arrow shown against the header, whose details you want sorted. Sorting can be done for those headers that show a two-way arrow against its field.
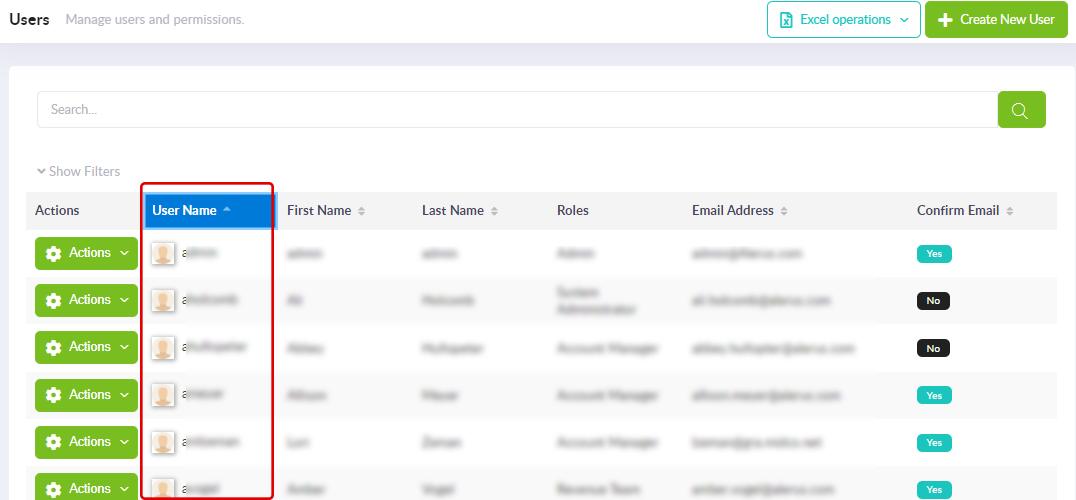
Sorting can be done in two distinctive ways.
One is to sort the list in a sequenced order by a criterion. Say, sorting the list based on the “First Name”, which would list the data in an alphabetical sequence.
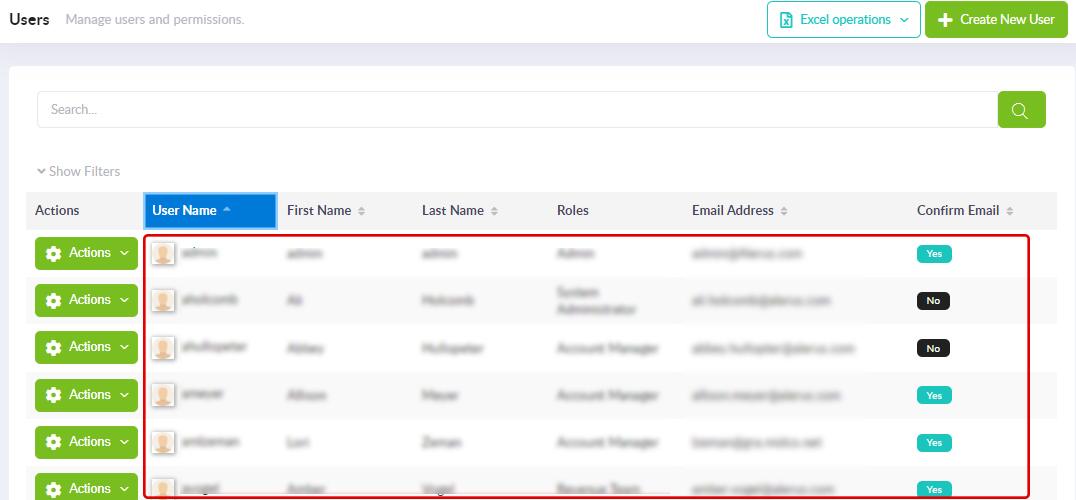
The other sorting method is grouping the list based on similar functionalities.
When the Users list is sorted based on the “Roles”, we get the list sorted according to the Roles (Administrator, Associate Accountant, Super User and Supervisor) assigned to each user.
Actions on a User Profile
Once a user has been created there are some actions that can be performed to make modifications to the user account or information.
To do this click on the “Actions” button against that user.
Select from the drop-down list the action you would like to perform.
The “Login as the User” Option
This option lets you auto login without a password (using an impersonation token) to a user account as that user. This feature is used mostly when an error is encountered, and you need to debug.
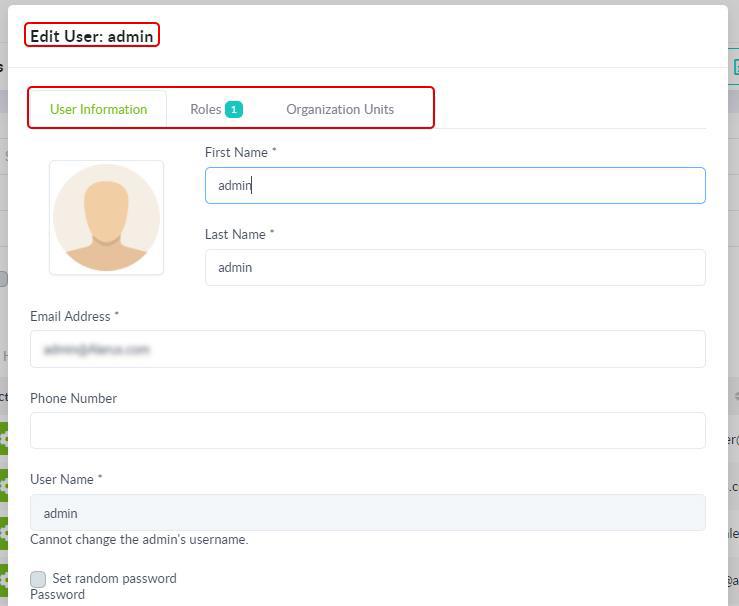
The “Edit” Option
This option lets you make edits to the already created user like on the “User Information” (user details), “Roles” (roles assigned to the user) or the “Organization Units” (access to the organization units).
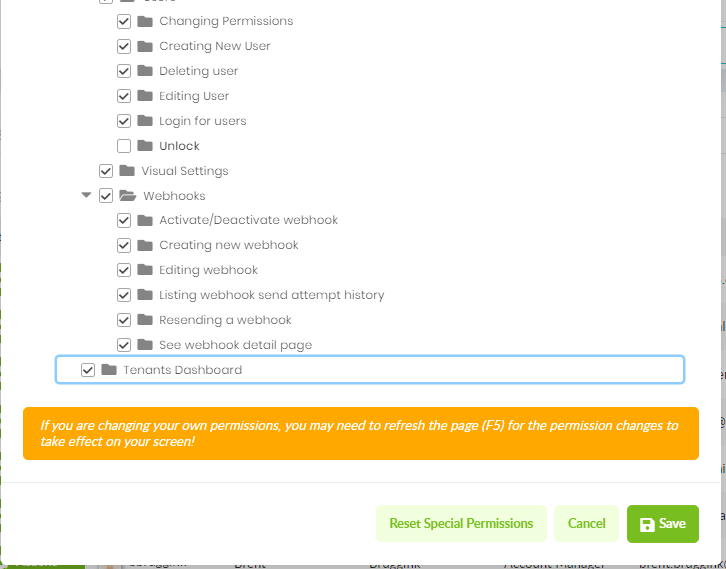
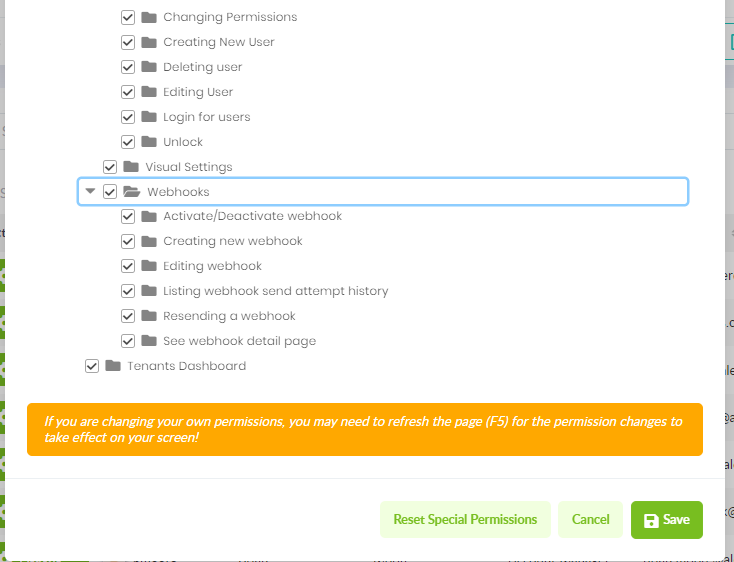
The “Permissions” Option
This option lets you modify a user’s permissions to give a user-specific-permission rather than the role-specific-permission. To reset the user-specific-permission back to the original role-specific-permission, click on the “Reset Special Permissions” button.
The “Unlock” Option
This option lets you unlock a user who has been locked out of the system. A lockout can happen due to various reasons, say multiple attempts using a wrong password, the administrator suspending a user and so on.
The “Delete” Option
This option lets you delete a user from the system.